If you’re interested in watching instead of reading, I made a video version about the process of making this video as well!
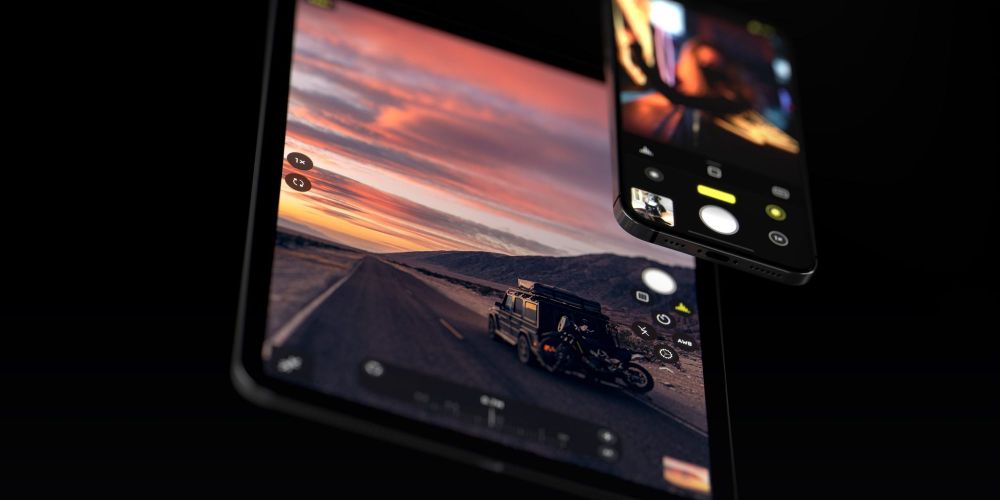
It was mid-April, and we were working on something rather exciting. Halide was coming to an entirely new form-factor, the iPad. Of course, this wasn’t a simple “stretching” of the app to make it cover the entirety of an iPad’s display. Rather, we designed an all-new app for iPad, complete with special features exclusive to the new large form factor. Because of all of this, this update deserved an exciting video to really highlight everything this update to Halide had to offer.
In the filmmaking world, an entire production is split into three main phases: pre-production, production, and post-production. Pre-production is the planning process, production is the actual filming process, and post-production covers editing, VFX, and those finishing touches. Let’s start with pre-production.
Pre-Production
There were a lot of limitations when it came the actual production of this ad. First and foremost, we had zero budget for the video itself. As I was still wrapping up my spring semester at the University of Arizona, I didn’t have the time to deal with the logistics of renting equipment, finding a crew, and planning something on a larger scale. As such, I ended up using my own gear and make something with a bit smaller of a scope.
Initially, Sebastiaan asked me if we could have it done in about two weeks, as we had hoped to push out the update in that time. That was far too optimistic for the video, especially for a solo project as a part-time employee. I communicated as much, and thankfully the update needed more time to be truly perfect, so that afforded me more time to work on the ad. Ultimately, the entire process lasted five weeks, from the initial decision to make the ad to the final export.
Writing
The first thing on my plate was writing the ad. After all, you can’t really shoot something good without a script.
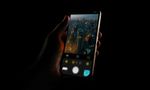
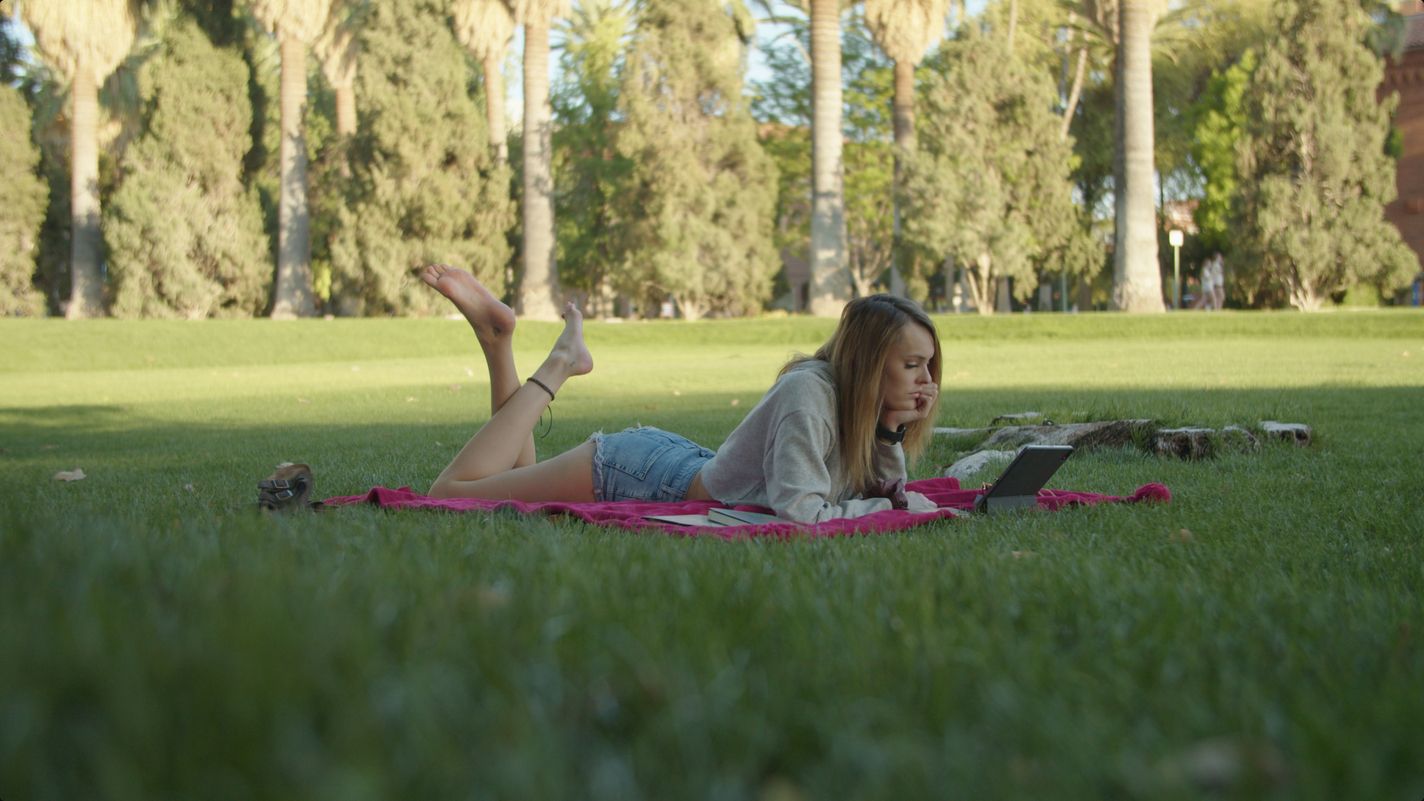
When it came to writing the ad, I wanted to make sure that it made sense. For instance, it wouldn’t make sense for someone to hike up a mountain and pull out an iPad to take a photo. Or it wouldn’t make sense to be taking photos with an iPhone and then pulling an iPad out of a backpack to take the same photo. The use of Halide for iPad had to make sense given the context. Ultimately, I landed on someone studying or reading on their iPad, and then continuing to use their iPad to shoot a photo that they happen to see in the moment. I’d show that photo, two others, and then pull out from that photo to reveal the CG renders. Pretty simple. Lucky for me, my girlfriend, Lexi, was more than happy to be in the ad as the onscreen talent.
The other crucial element was to nail the musical component of the ad. Without a song that worked tightly alongside the visuals, the ad would lack a lot of the punch. As such, I began some early exploration into music during pre-production, but ultimately I realized that I’d have to edit to a track, as opposed to write to one.
While I had written to music in the past (see VERSO), the issue with that type of budget-driven production approach is that the film will often struggle when it comes to pacing. Being limited to the flow of the music might force the edit to linger on specific shots that ultimately end up being detrimental to the pace of the overall film.
Scouting
Part of pre-production is to figure out where you are going to be shooting. A good location can seriously elevate the production value of a film. The location can add to the tone of the piece or take away from it, which is why scouting is so crucial.
While writing the general script for this film, I had already had a potential location in mind. On the University of Arizona campus, there is a lovely grass field in front of the Arizona State Museum. So, a few days before the actual shoot, I went out and did some quick scouting. The general location was great, so the goal of this trip out to campus was to find the specific spot I wanted to shoot everything.
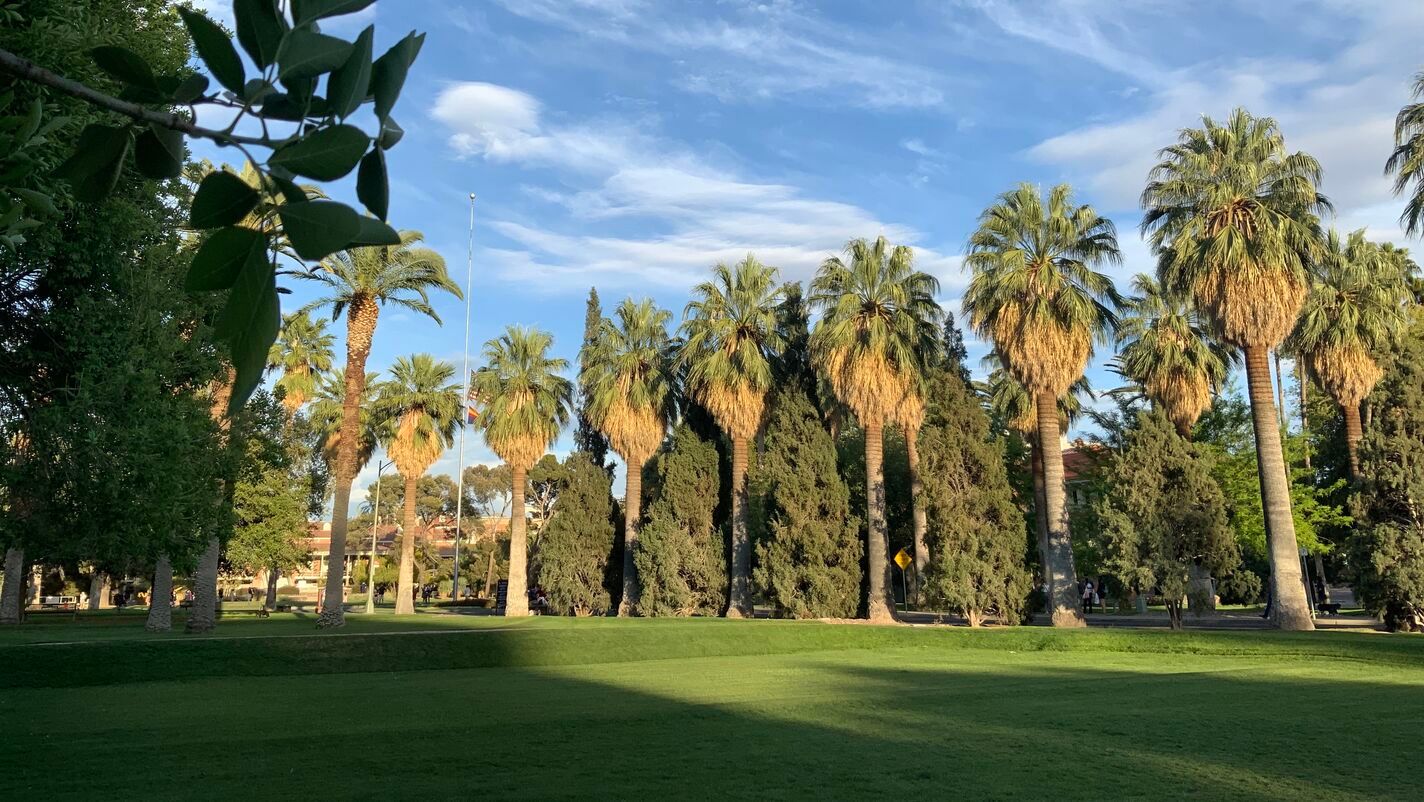
Utilizing two fantastic apps, Artemis and Sunseeker, I plotted out the best spot to shoot. One big consideration was the final photograph for the student to capture. Generally, locations look good from specific angles. The reason you choose a specific vantage point is typically because shooting the opposite direction is less than ideal, perhaps there’s some construction, or a flashing neon sign… or it’s just plain boring.
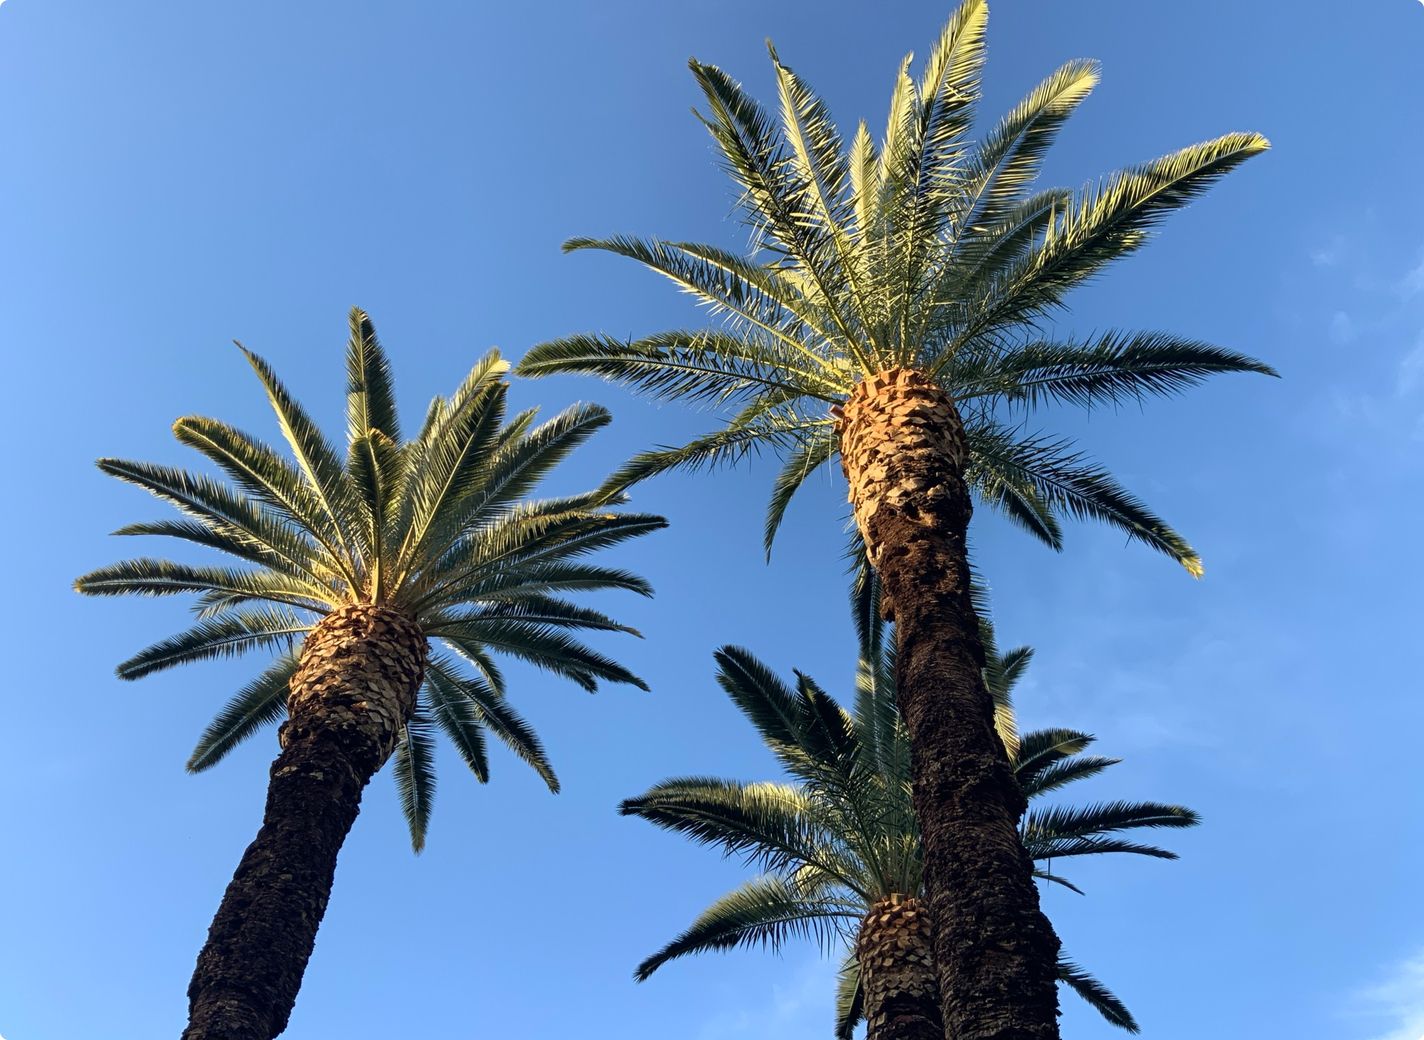
Eventually, I found a cluster of palm trees that formed a nice trio that looked alright on the iPad. I took a few quick snaps on my 2018 iPad Pro, running an internal build of the iPad update, to lock in that location.
With scouting done, I was ready to shoot the actual ad.
Production
On big film productions with dozens or even hundreds of people, finding the right time that works with the actors and crew is important. Other variables, such as access to locations, availability of gear, and even weather are important considerations when scheduling a shoot. Everyone is given a call sheet, detailing when and where people are expected to show up. While I didn’t have to deal with that on this production since it was just my girlfriend and I (although it would have been funny to give her a call sheet), I still had to work around her work schedule, which meant the only day we had to shoot was Sunday.
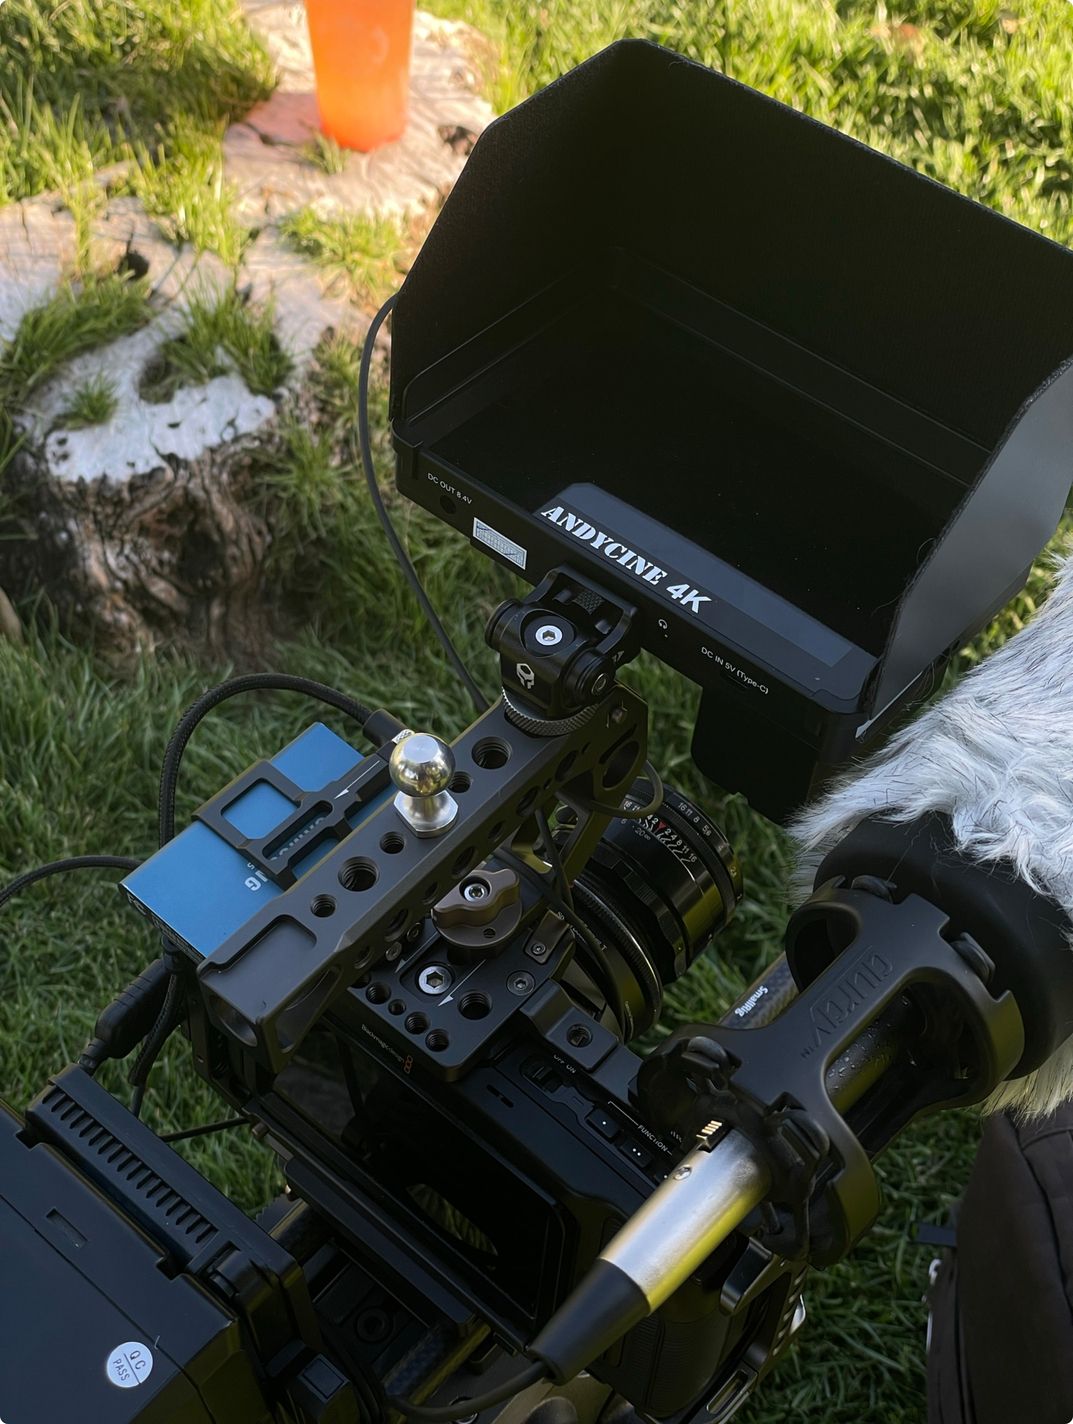
Given some other things going on that day, it ended up being a bit of a rushed afternoon and evening. We had another event going on, which meant we had to quickly load the gear into the car, go to the dinner, and then high-tail it over to campus. It was only after we got to campus that I realized I had completely blanked on my monitor battery, which was still charging on the wall at home. Rookie mistake.
While I was still able to somewhat monitor the footage on my Pocket 4K, the large V-mount battery I had on the back of the rig prevented easy access to it. However, that wasn’t the worst of it.
It was completely and utterly overcast. While I did my best to shoot something usable, the shooting conditions overall were pretty hard to work with.
After getting home and offloading the footage, I quickly threw the clips together in DaVinci Resolve, my editing software of choice, to see if they were salvageable. While they cut together in a coherent way, the lighting made it all feel so dark and moody that I really wasn’t happy with how they turned out.

Thankfully, after Lexi got her schedule for the upcoming week, she had Tuesday completely off, which meant I had a chance to redeem myself… er, the ad. With a perfect forecast as far as cloud coverage went, things were looking up.
This time around, I decided to slightly shift our location, as I wasn’t a fan of the initial spot once I had taken a look at the footage in Resolve. This new location was only about fifty feet from the original spot, but I really liked the expansiveness of it.
Since we had plenty of time, I realized I might as well try to shoot the entire ad twice, just to have something to fall back on in case the first go-around had some issue I didn’t expect. Instead of shooting the exact same thing twice, however, I shot two variations just to mix it up. In the first, Lexi was reading, and in the second, she was writing a paper. I could already tell that this was turning out much better than the first shoot did. The sunlight was warm and energizing, and the new location was really elevating the look of the ad. Plus, having a working monitor helped a lot.
Post-production
After shooting the ad, I was in a bit of a precarious position. The footage was in one place and one place only – the Samsung SSD that the Pocket 4K recorded to – and nowhere else. As such, the priority was to quickly duplicate and back up the footage so as to avoid a freak accident ruining the project.
As soon as I got home, I dumped the footage onto my two backup drives using a fantastic Mac app called Hedge. Not only does it allow for backups to more than one destination, it also runs a hash on the files to ensure zero data loss. It’s fantastic.
Editing
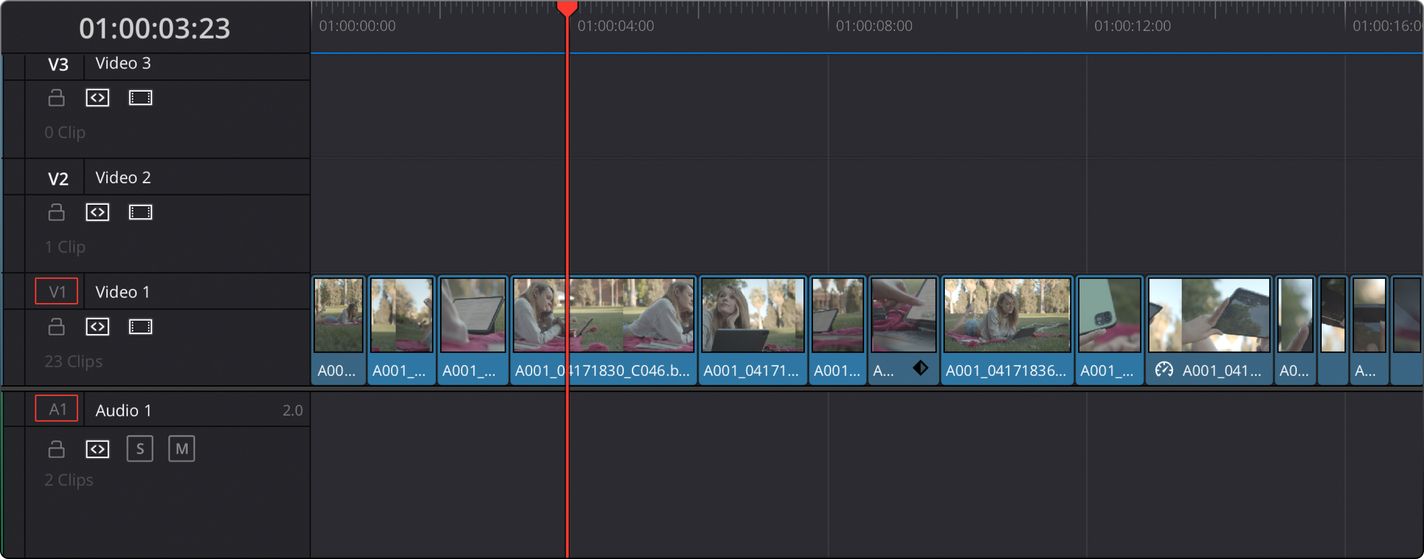
I mentioned Davinci Resolve, a Mac and Windows program, a moment ago. Commonly referred to as an NLE, or Non-Linear Editor, this software allows me to arrange video and audio in any order or combination I’d like and play any portion of media at a moment’s notice. This is in contrast to a Linear Editor. Back in the days when film was the only option, there was no simple way to jump to a specific part of a take. You would have to scrub, or fast forward through portions of the reel to reach your desired portion. Thankfully, the days of linear editors are behind us. In addition to being a fantastic editor, Davinci Resolve is a color-finishing, sound-mixing, and compositing beast.
Since all of the shots were captured sequentially, I simply dropped the best takes into the timeline and trimmed them a bit. However, I wasn’t going to be sure of the exact timing of the cuts until I had the music, which brings me to the next step.
Music
For this bit, I used my favorite royalty-free service, Musicbed. As a content creator, I’m actually an ambassador for their platform, but even before they had contacted me for such a partnership, I’d already held their service in high regard.
Their website made it quite easy to find songs in the energy I was looking for. I wanted something upbeat, happy, and energizing, so I simply selected those words in their “Mood” filter, which helped me narrow it down. I eventually landed on Best Day Ever by Bright Pink.
One handy benefit of Musicbed’s service is that every song comes with an instrumental version. As it turned out, this ended up being critical for the edit. While the song has a very lovely chorus, it repeats. And given the length of live action and CG sequences combined, the second part of the chorus would end up continuing past the visuals, forcing me to fade out on the lyrics, which never really sounds too great.
Once I had dropped the track into Resolve and tidied up the live action sequence to the music, I was able to pinpoint where exactly I needed the ad to end. Lining up the normal and instrumental tracks, I simply switched the music to the instrumental track right before the lyrics jumped back in. It couldn’t have been easier.
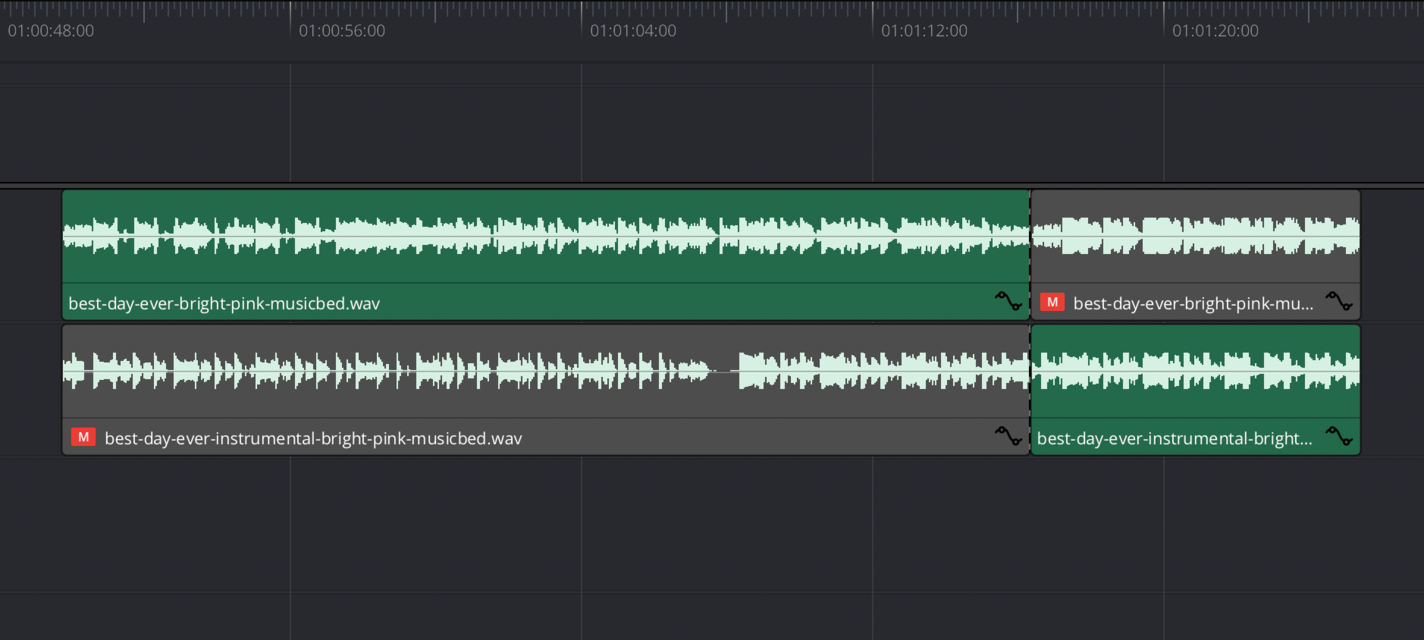
The top track is the normal version of Best Day Ever, and the bottom track is the instrumental version. The top disabled grey section is the repeated chorus that I didn’t want, so I simply lined up the instrumental version and had it switch over to it just prior to the chorus. The effect was seamless.
CG
Up until this point, I didn’t have any completed CG shots to actually use. Martijn, our CG guy, was busy with renders for other components of the launch, such as the website and other promotional materials. Because of this, I’d been simply turning my CG shot list into editable Text clips in Resolve so as to get a feel for the timing of the shots with the music.
Since I had some free time, I ended up doing some quick pre-visualization, or CG shot-planning, within Blender. These were only extremely rough attempts at the shots, only enough to get the general shot design idea across.
With a simple model (okay, a cube I scaled to the dimensions of an iPad Pro), I mocked out the shots and rendered them out. While my skills in the world of CG are very rudimentary, I was able to use neat tricks such as empty tracking for both focus and angle of the camera.
I handed those clips off to Martijn, along with some notes about what each shot is supposed to convey, and he came back with some truly lovely stuff. I specifically asked for “handles” or a bit of extra animation on the head and tail of the shot to allow for some flexibility in the edit.
With all the assets together, it was pretty easy to just drop the clips into their designated areas thanks to the Text clips I had placed previously. It took a bit of tweaking, but it was soon done.
The End Result
And finally, it was done. About a month’s time of hard work in pre-production, production, and post-production resulted in an ad that I’m pretty proud of. I couldn’t have done it without Lexi’s help as the talent and Martijn’s lovely CG work.
Thankfully, it was quite well-received, both internally while I was wrapping up post-production and from the Halide community after we launched the update. There was a lot of praise:
Conclusion
Making this video was a fantastic and new experience. Getting to write, plan, shoot, and edit a project that I had so much control of was really fun.
Of course, in moving forward, there is plenty to improve on. Having accurate timeframes and a decent heads-up for videos we produce will be quite helpful for planning. It was a bit anxiety-inducing to have a spontaneous video project come up just as I was slogging through roughly six final assignments during my spring semester. In the future, I really hope to eventually be able to hire a small crew for production, as that would allow me to actually light the ad as opposed to be subject to available light.
But, all in all, I’m still quite proud of the ad that we were able to pull together given the constraints, and I’m excited to work on the ad for our Next Big Thing. We think you’re going to love it.