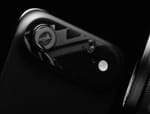
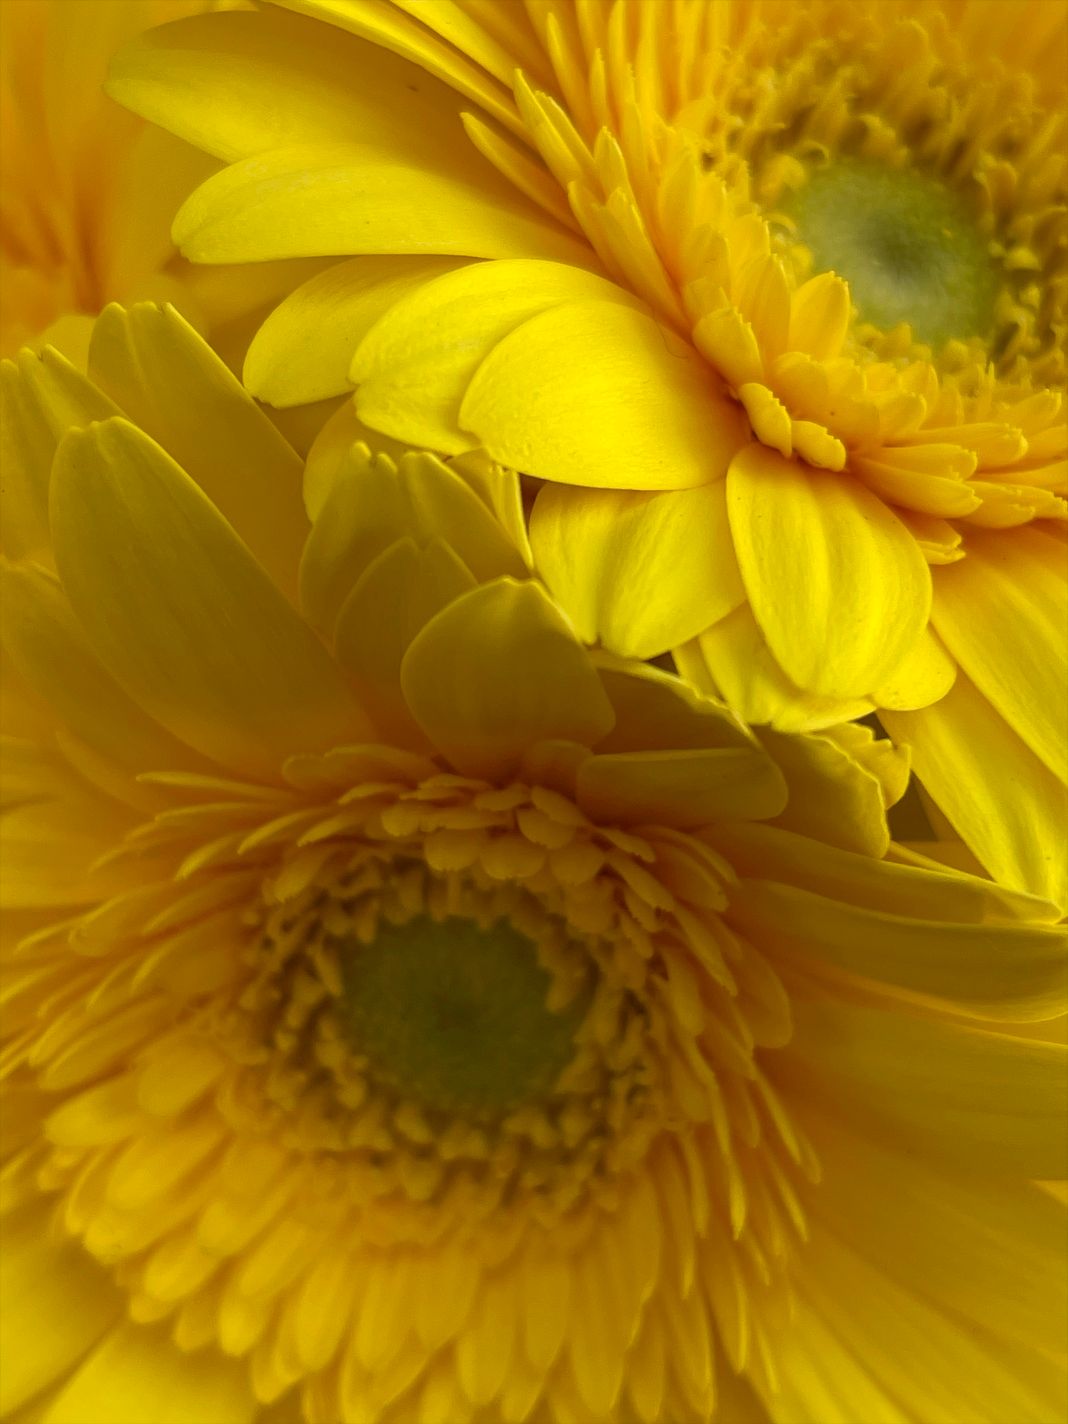
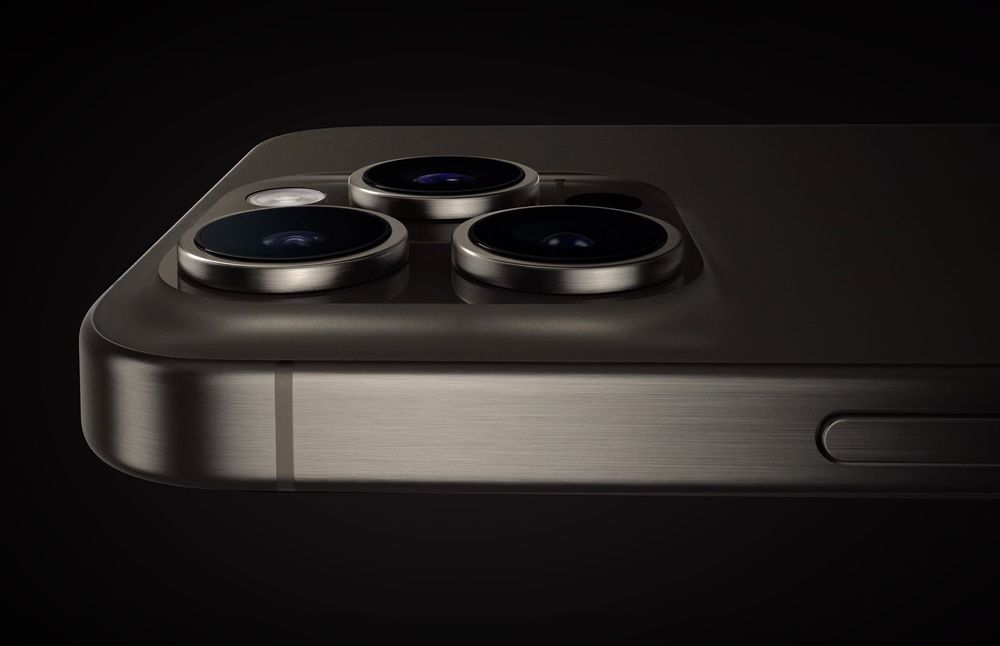
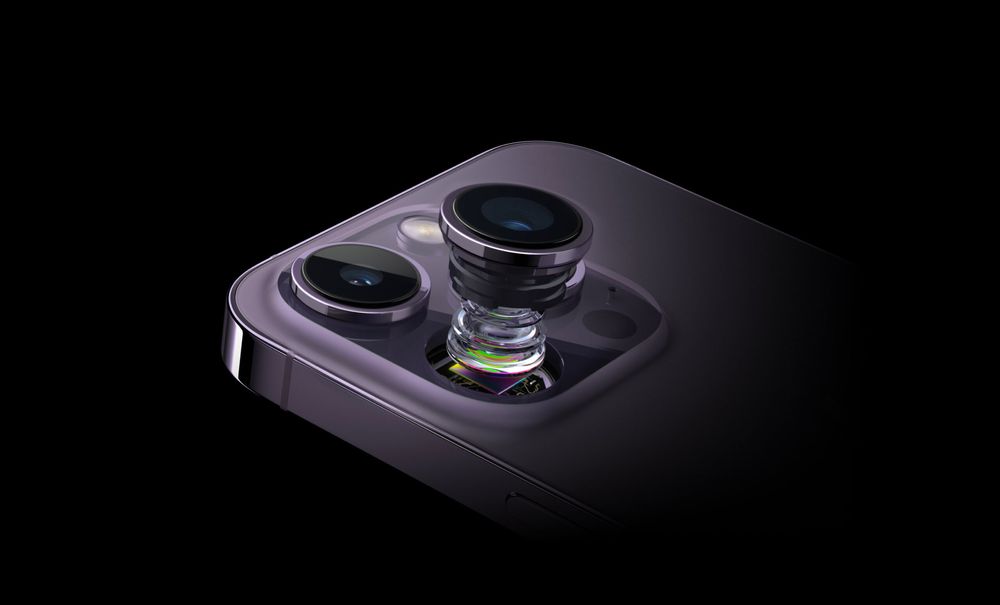
The iPhone 13 Pro features a new camera capable of focusing closer than ever before—less than an inch away. This opens a whole new dimension for iPhone photographers, but it’s not without surprises. Let’s take a tour of what this lens unlocks, some clever details you might miss in its implementation, why its “automatic” nature can catch you off guard, and much more. At the end, we have a special surprise for you — especially those not using an iPhone 13 Pro.
The Wonderful World of Macro
So what is ‘Macro’, anyway? “Extreme closeup photography” is a mouthful, so photographers needed a shorter name. You’d think ‘micro’. You’d think anything but macro, since that actually means ‘big.’ Well, ‘macro’ came from an article written in 1899 about high magnification photography. The author called anything magnified more than 10× “photo-micrography,” and anything less was “photo-macrography.”
122 years later, we’re still stuck with that term. Sorry.
If you’re a beginner photographer, you might ask, “What’s so special about a macro lens? I already have a zoom.” Well, all lenses have a minimum focus distance, the closest a lens can get to its subject and still focus on it. It’s a principle that applies to any lens; if you bring your finger close to your eye, you’ll struggle to focus at a certain point.
The iPhone 13 Pro’s telephoto “zoom” lens has a minimum distance 60cm (about two feet). Let’s take a photo of my Apple Watch’s crown from that distance.
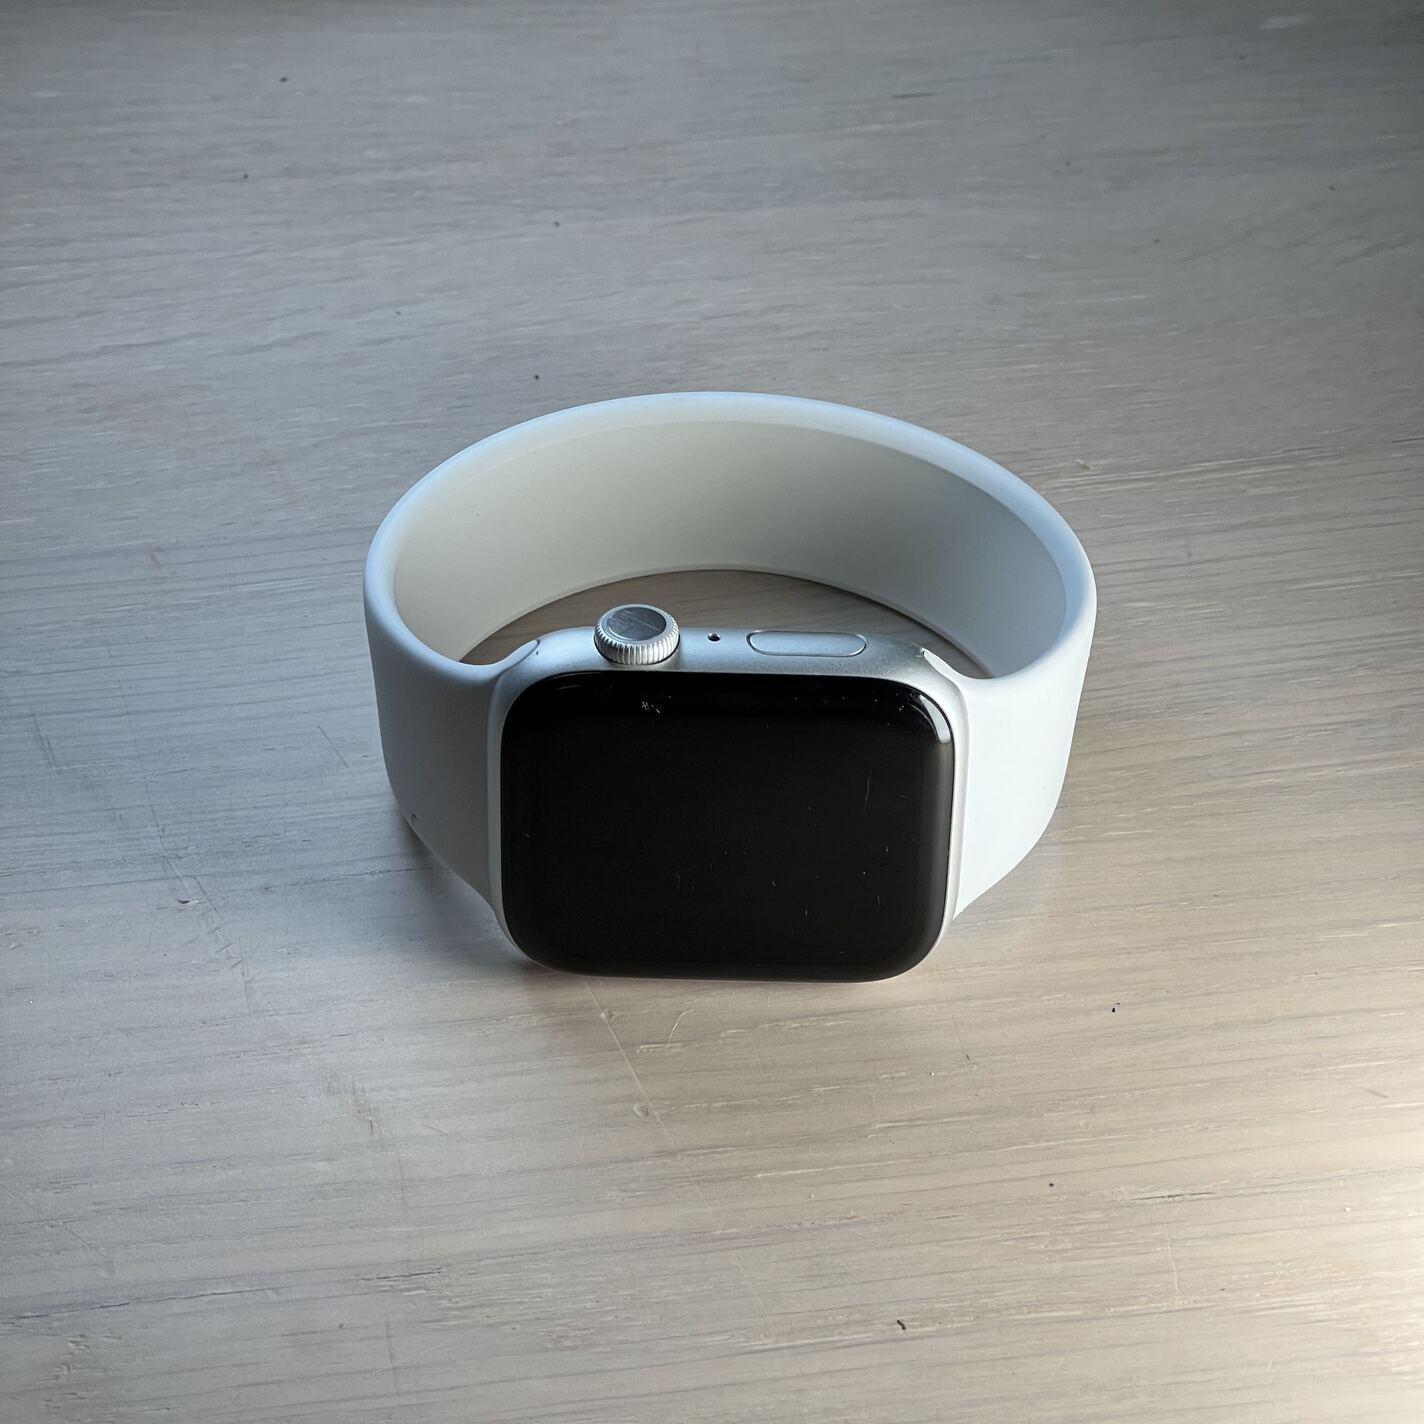
Now we’ll just crop and blow up the crown in our favorite image editor…
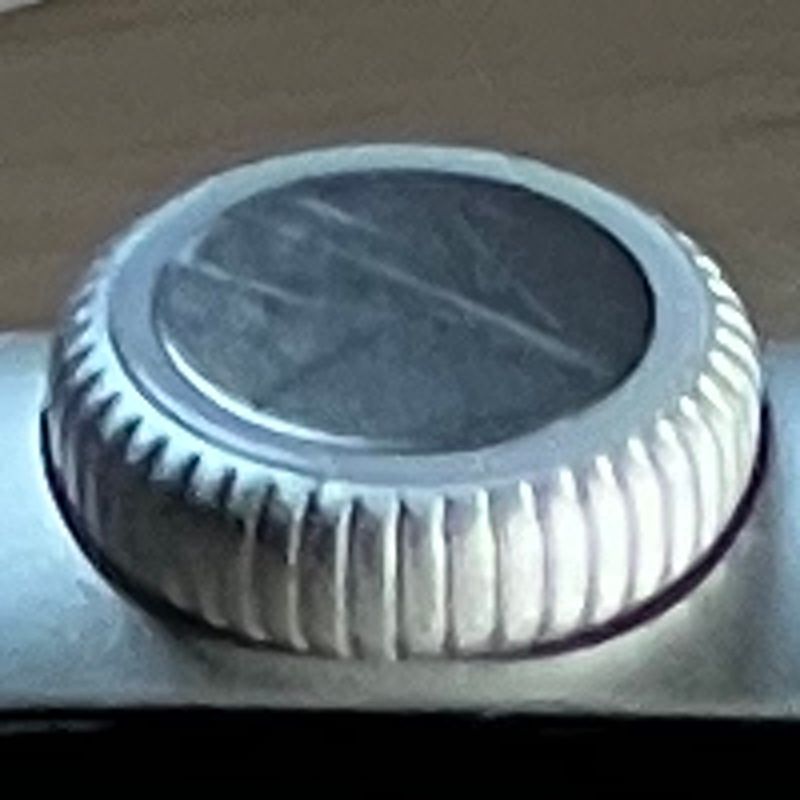
Not great. Let’s repeat the experiment with the wide angle lens of the iPhone, which can focus at 15 cm, about six inches.
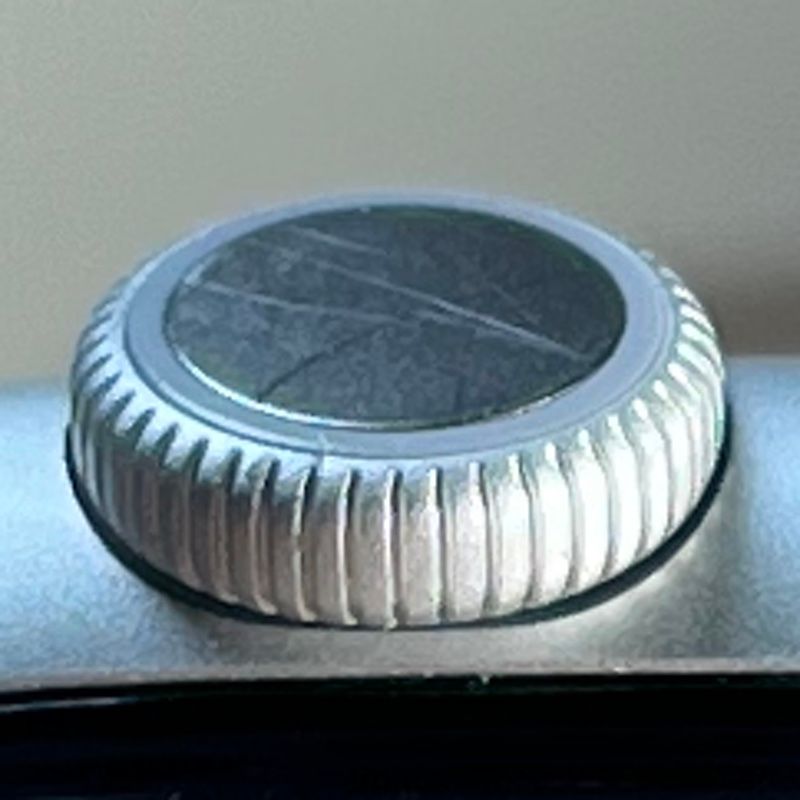
As you can see, while a telephoto lens works great at taking photos from afar, it slightly underperforms against a wide angle lens that can get up-close. Now let’s use a macro capable lens at 2cm, less than an inch.
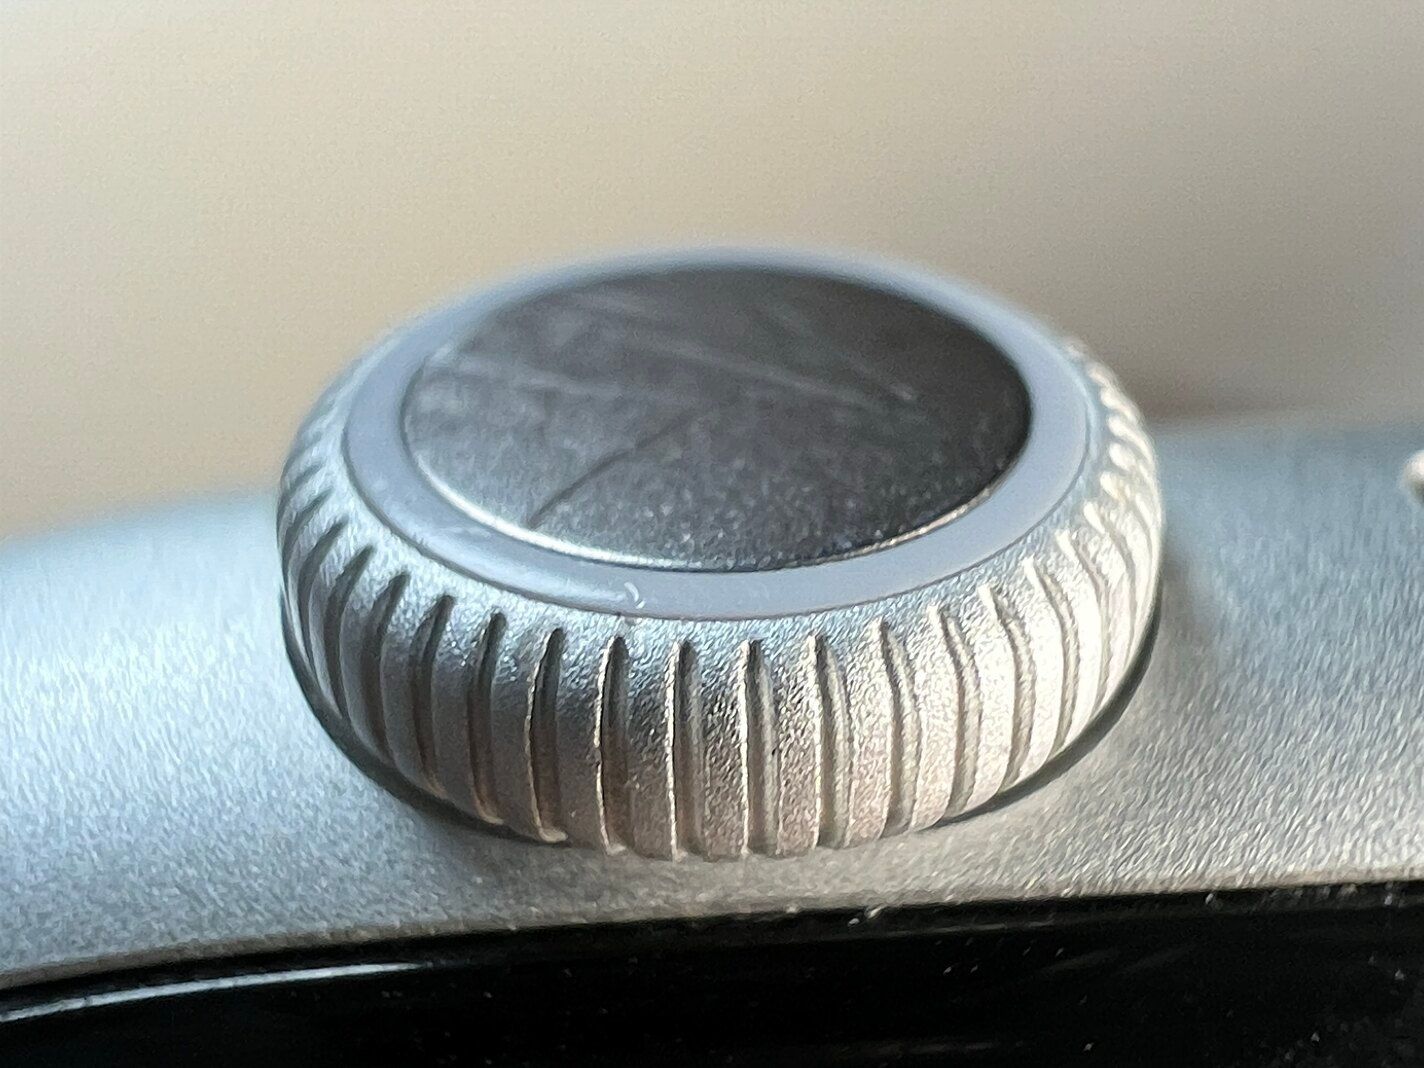
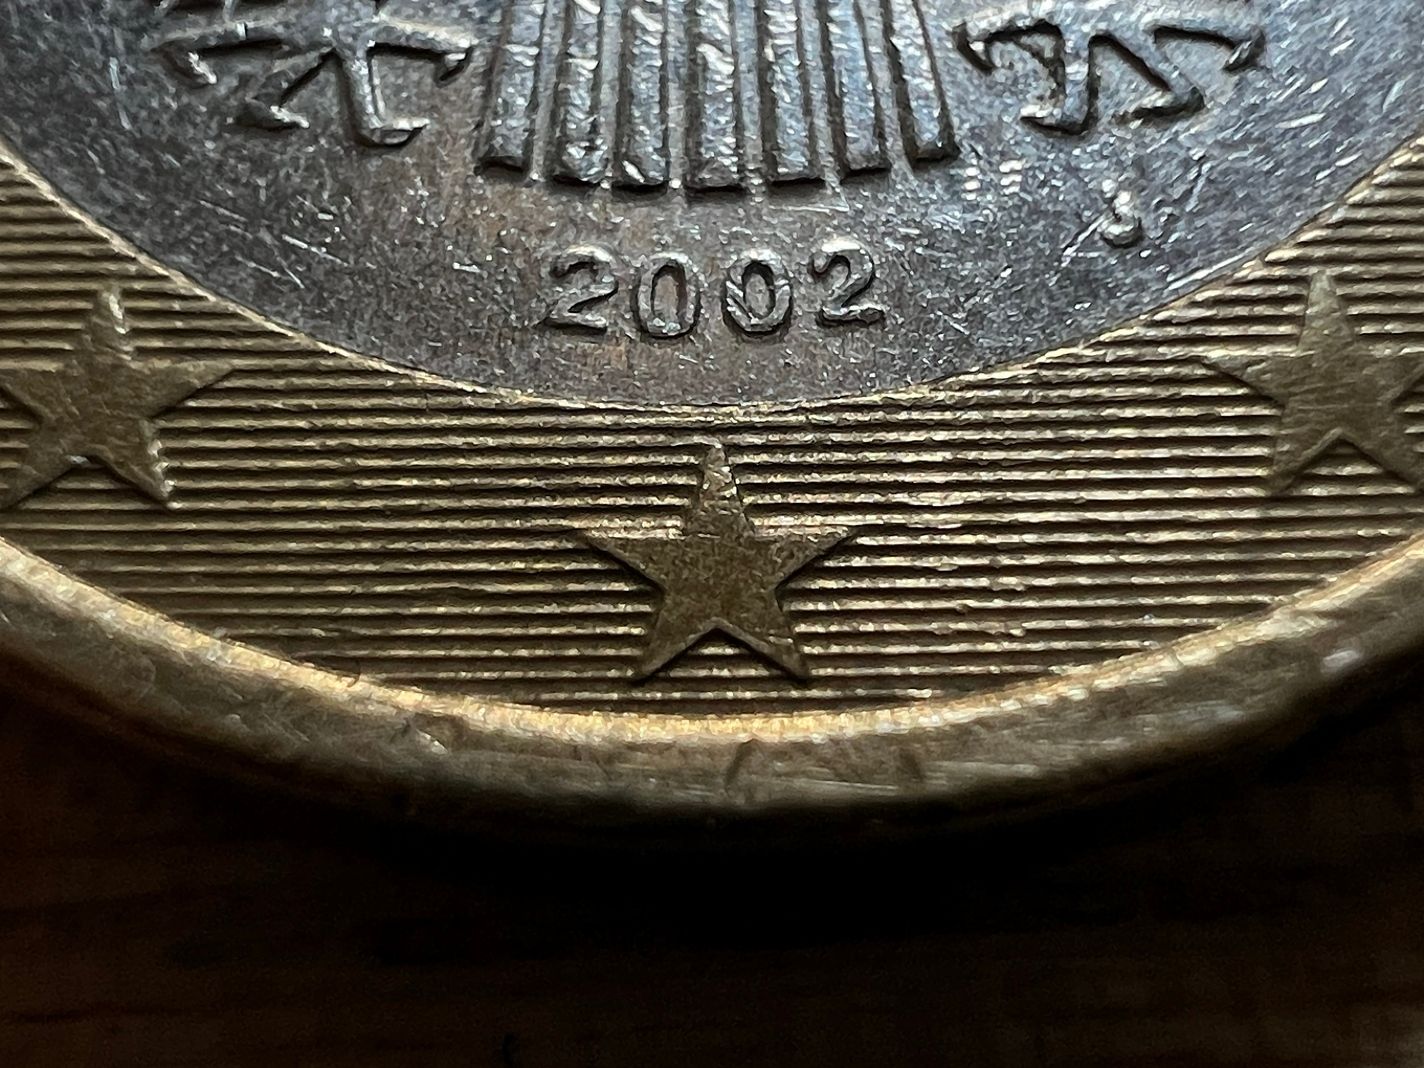
Wow. I can see every detail of every scuff and scratch. I need to take better care of my stuff.
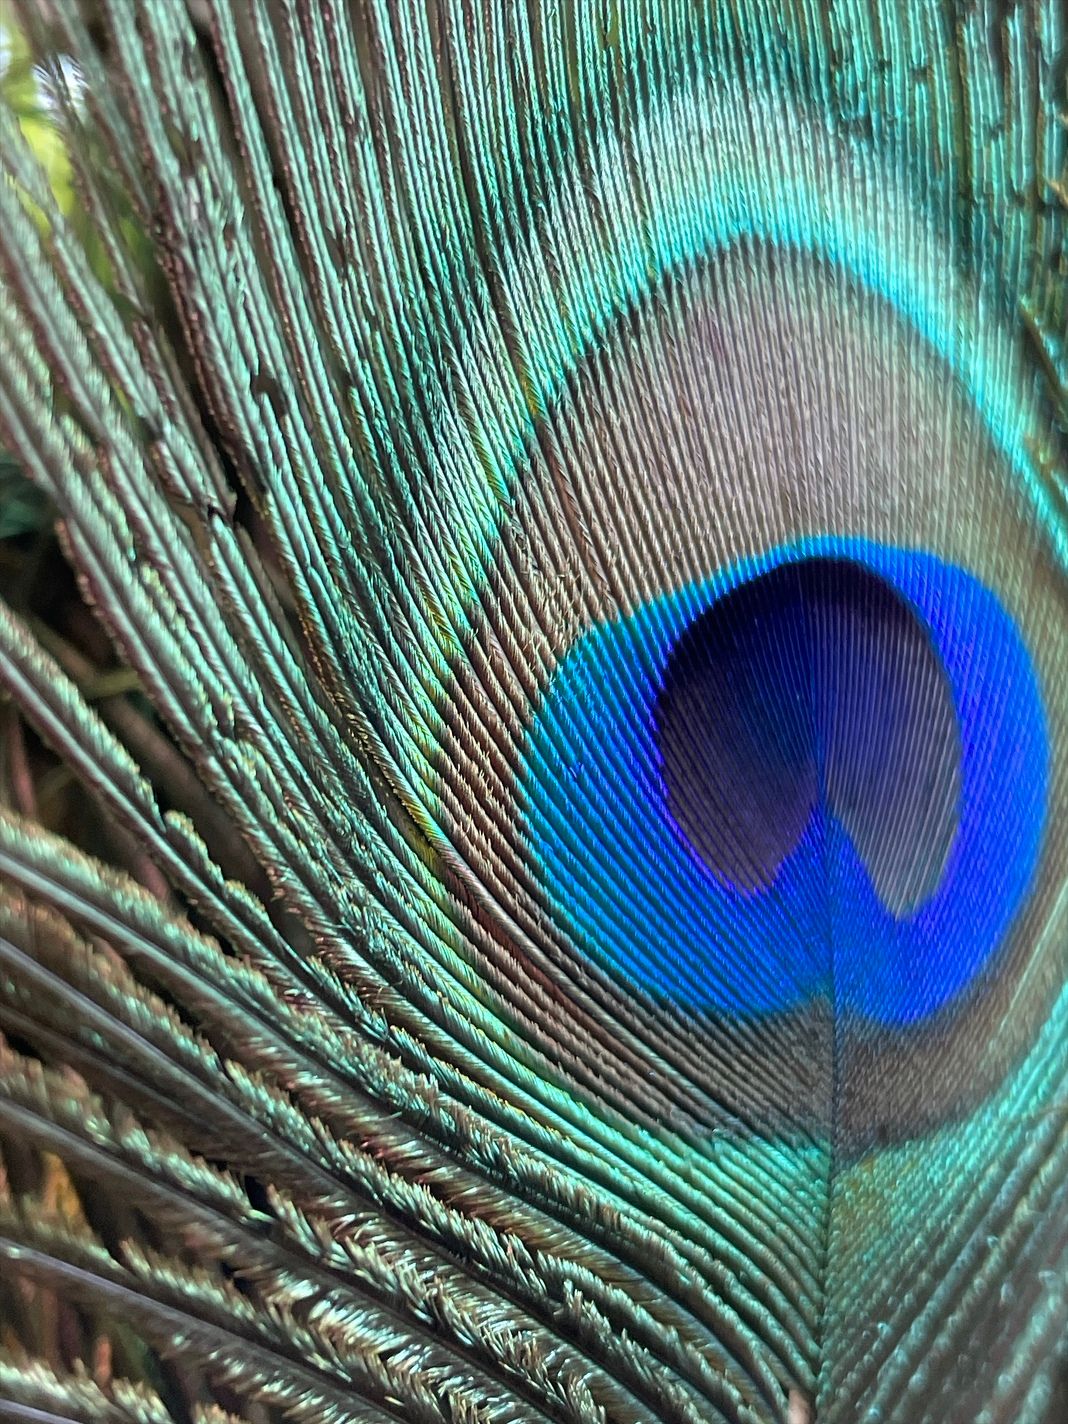
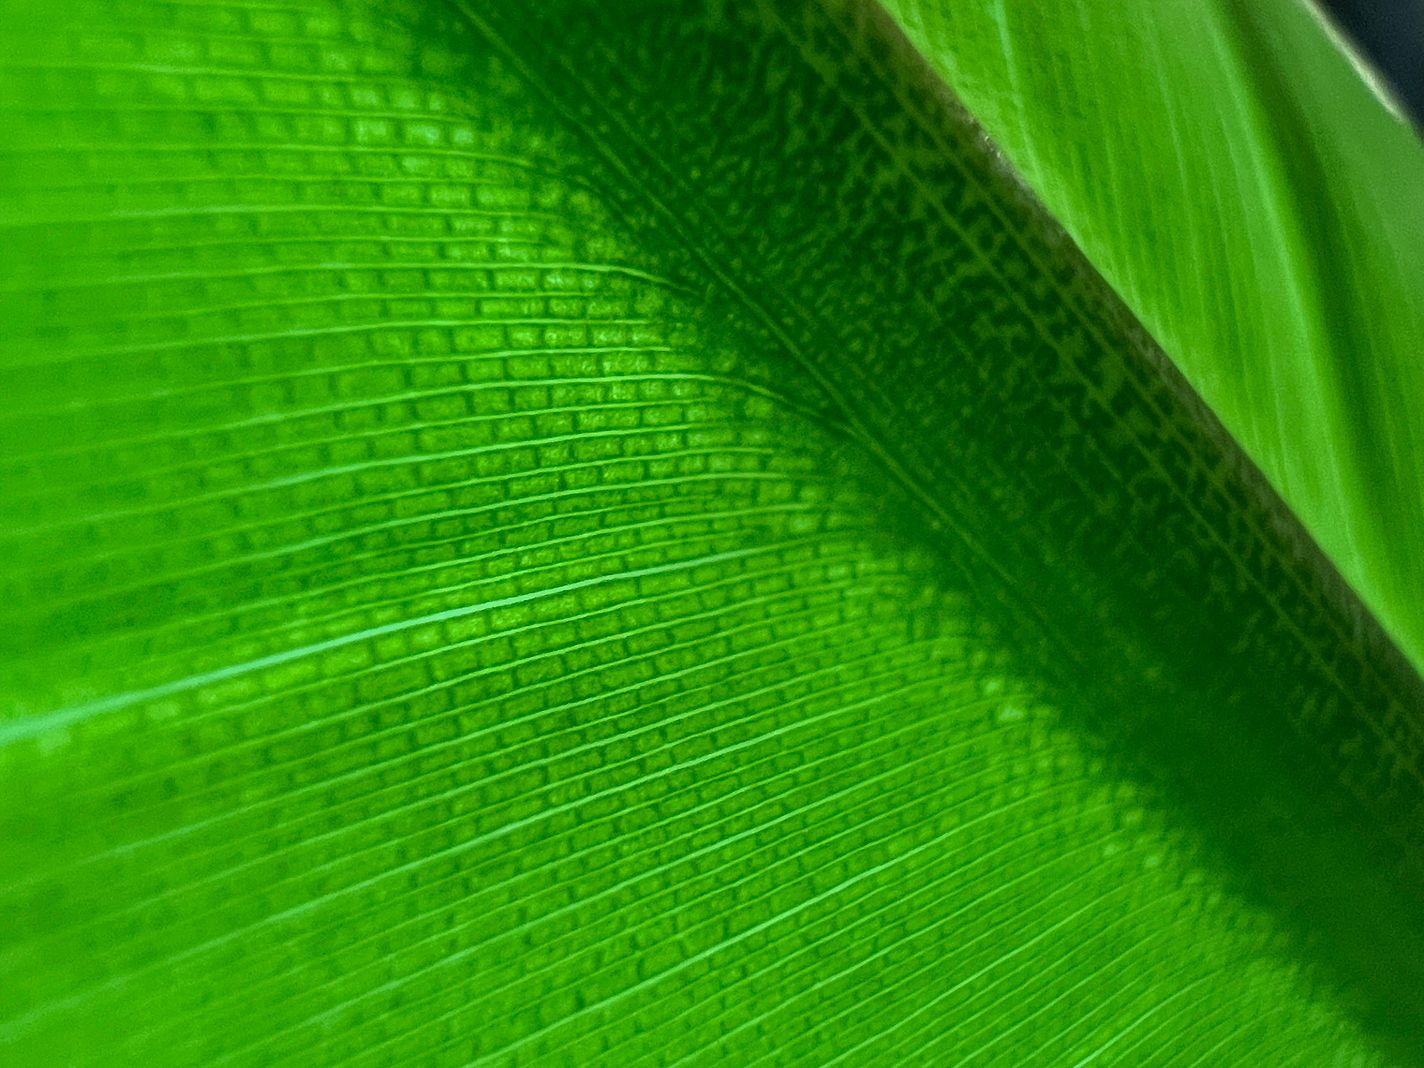
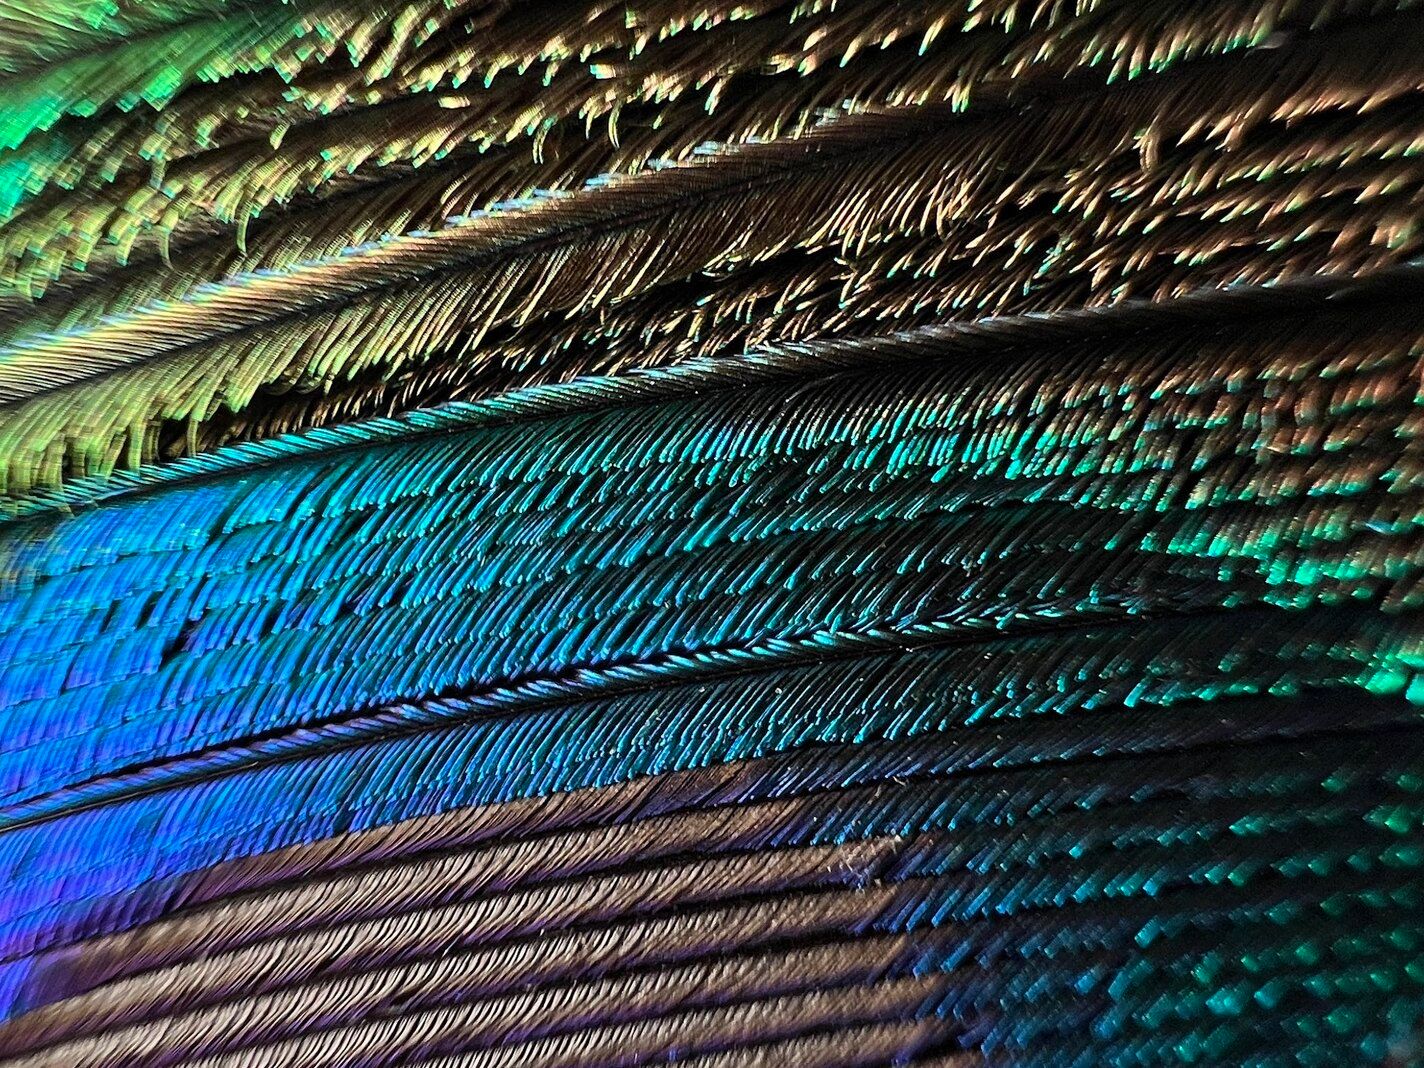
Macro lenses let you see ordinary objects in a completely new way. You can get lost in the feather of a peacock…
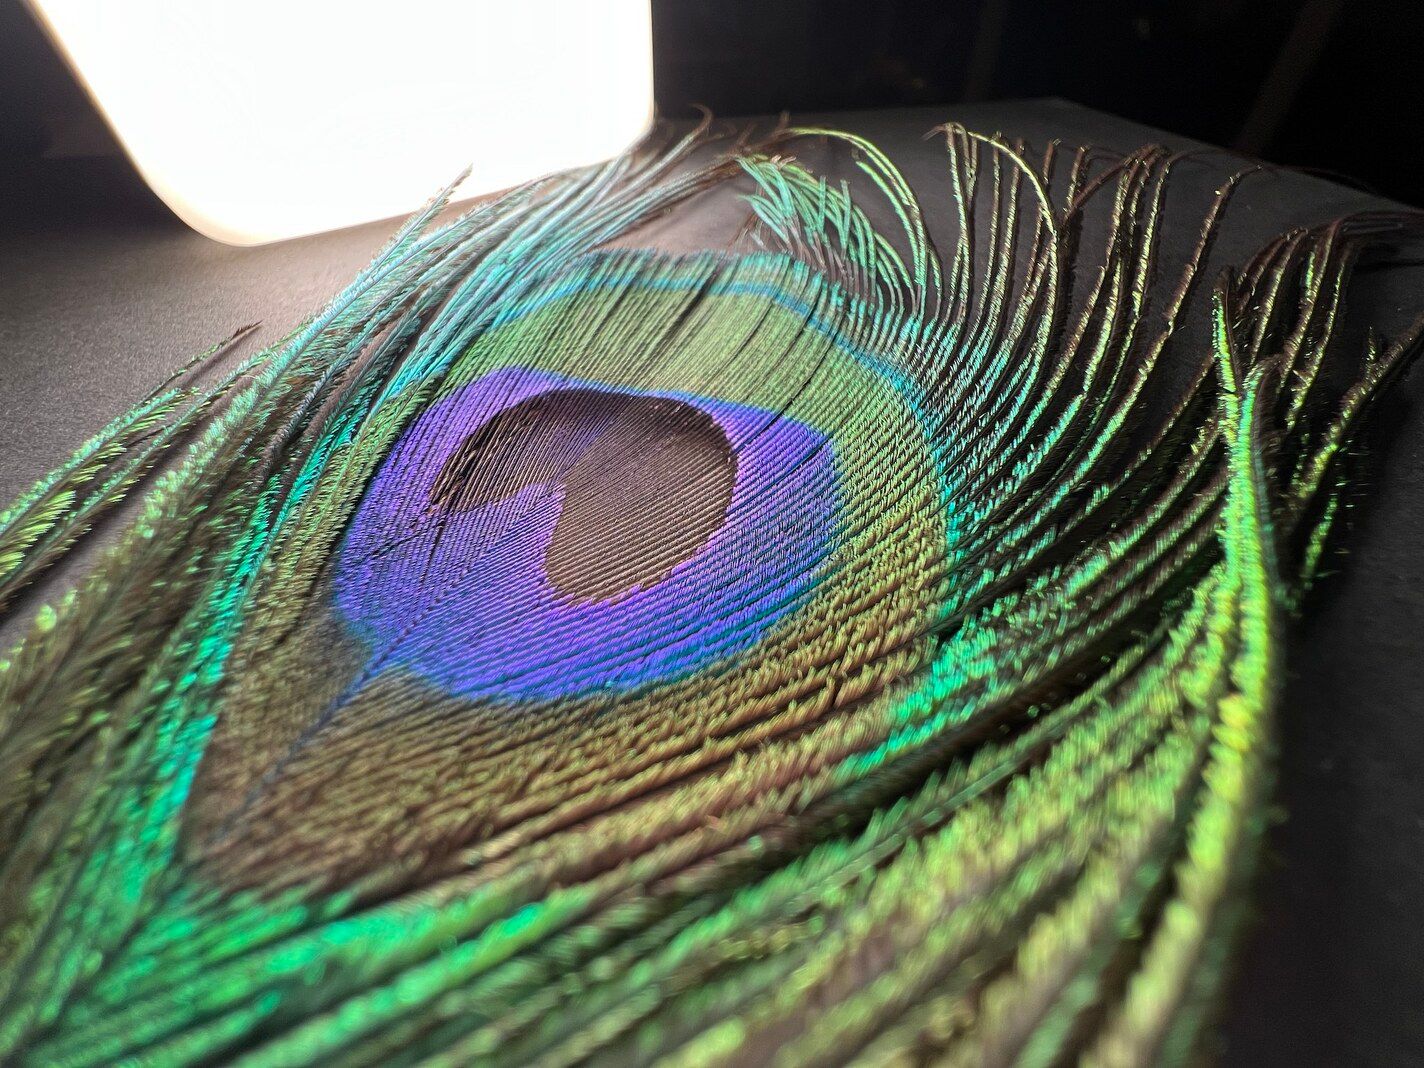
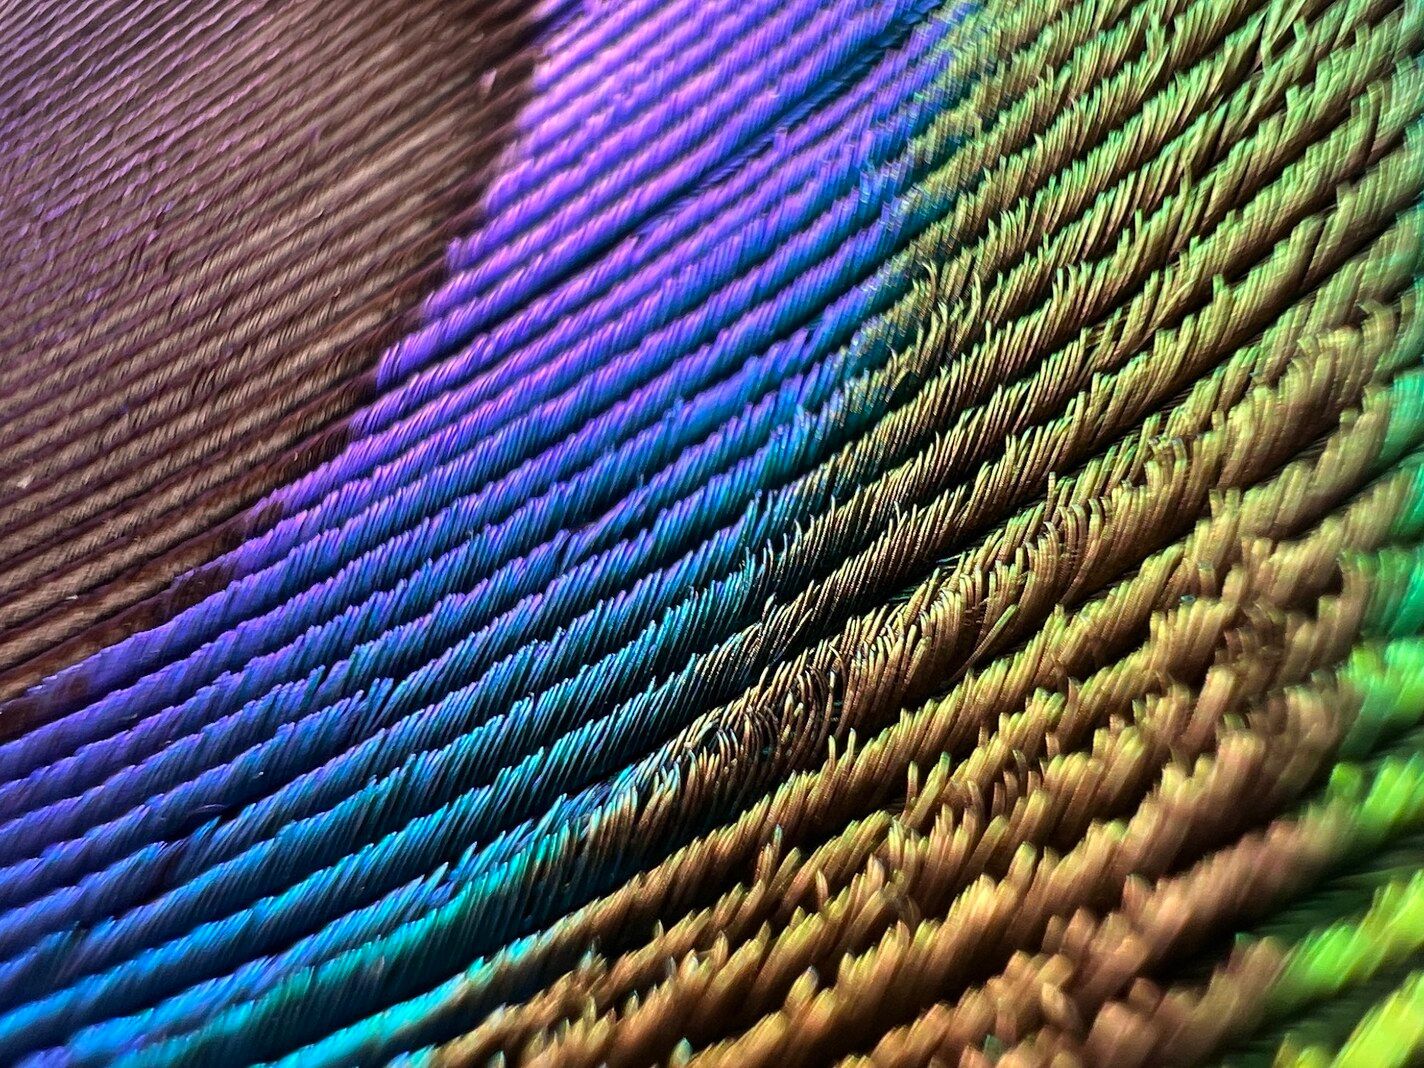
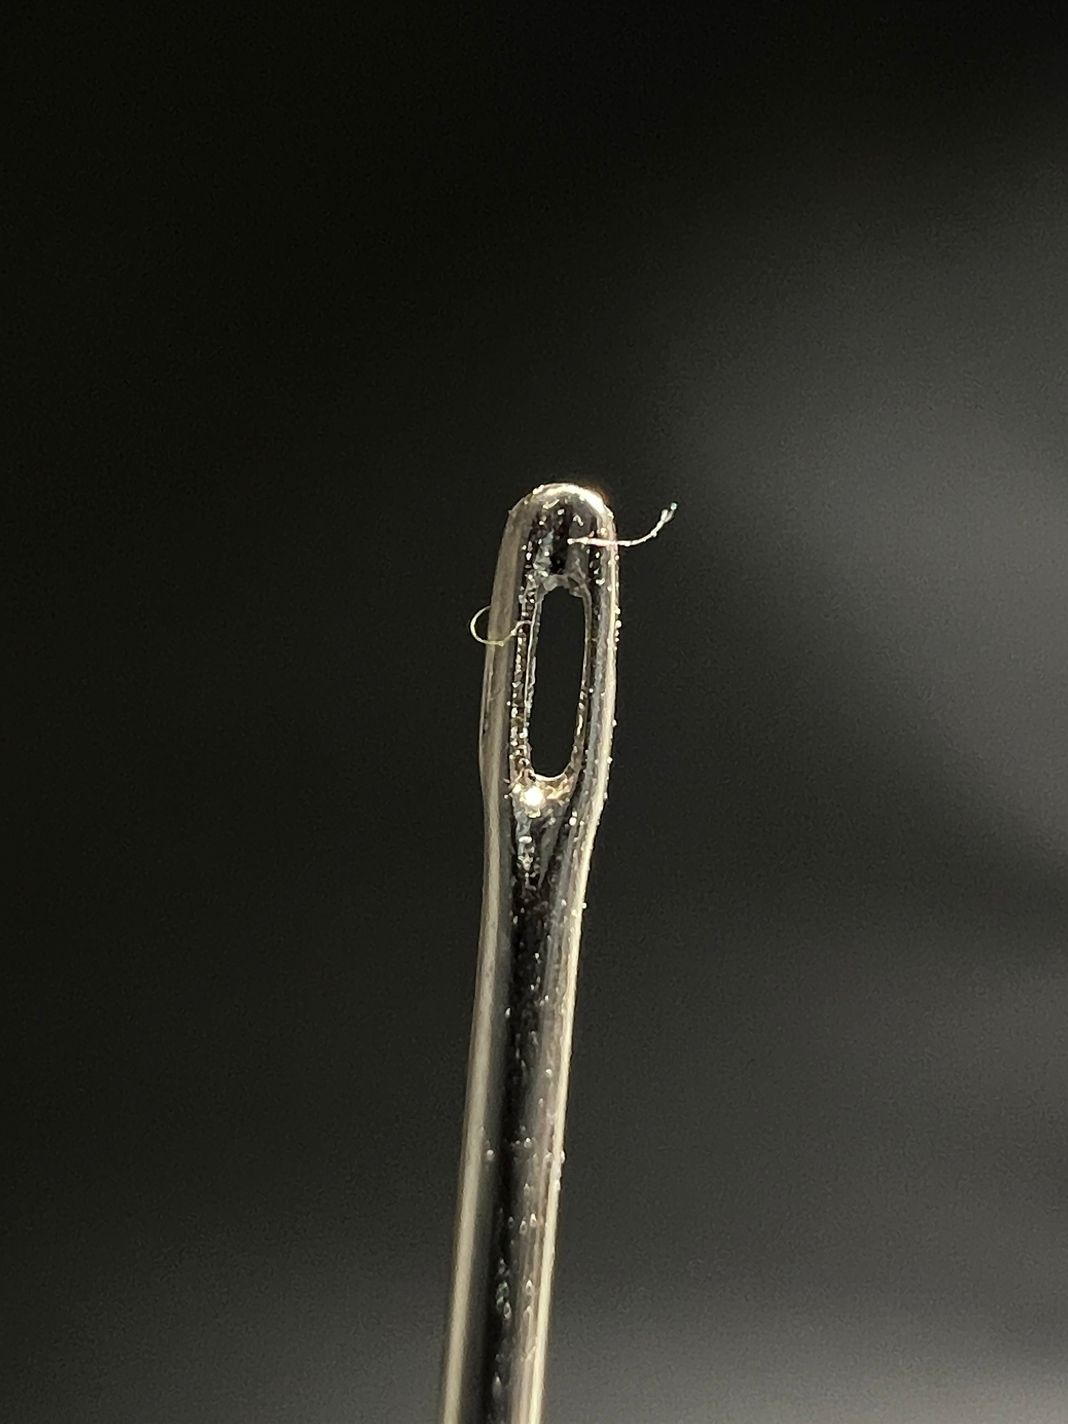
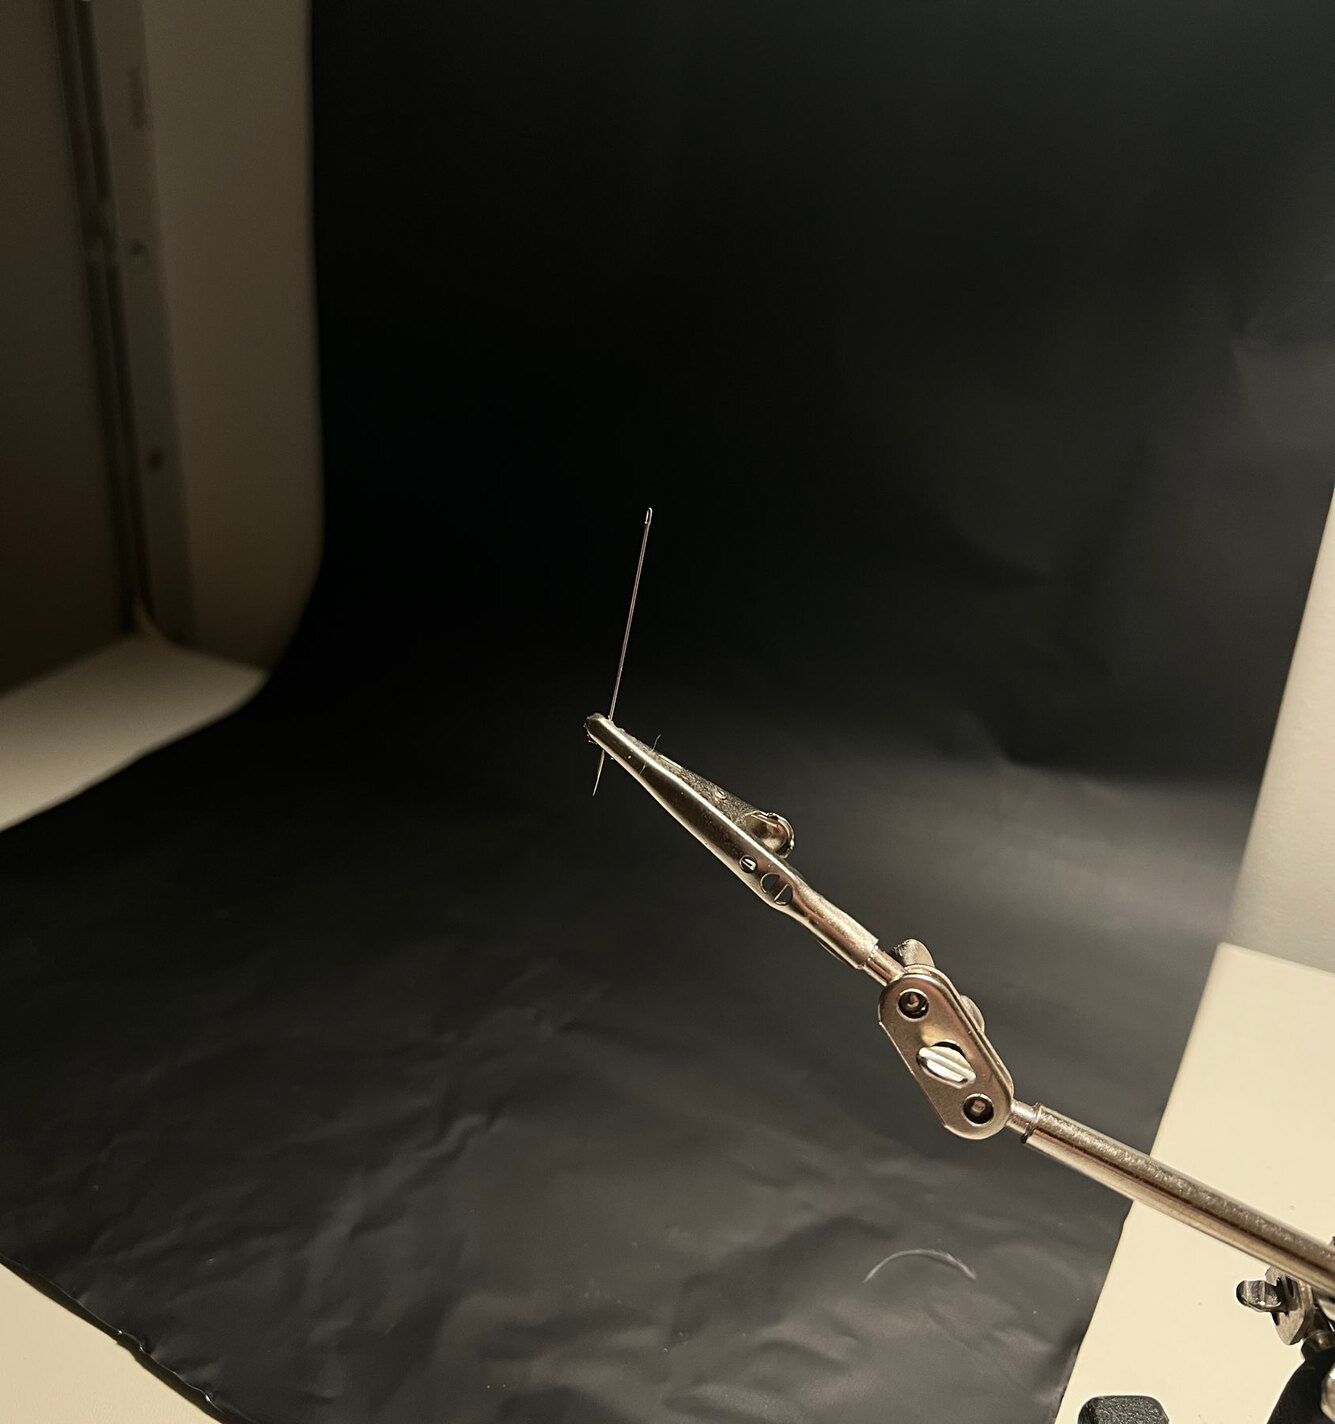
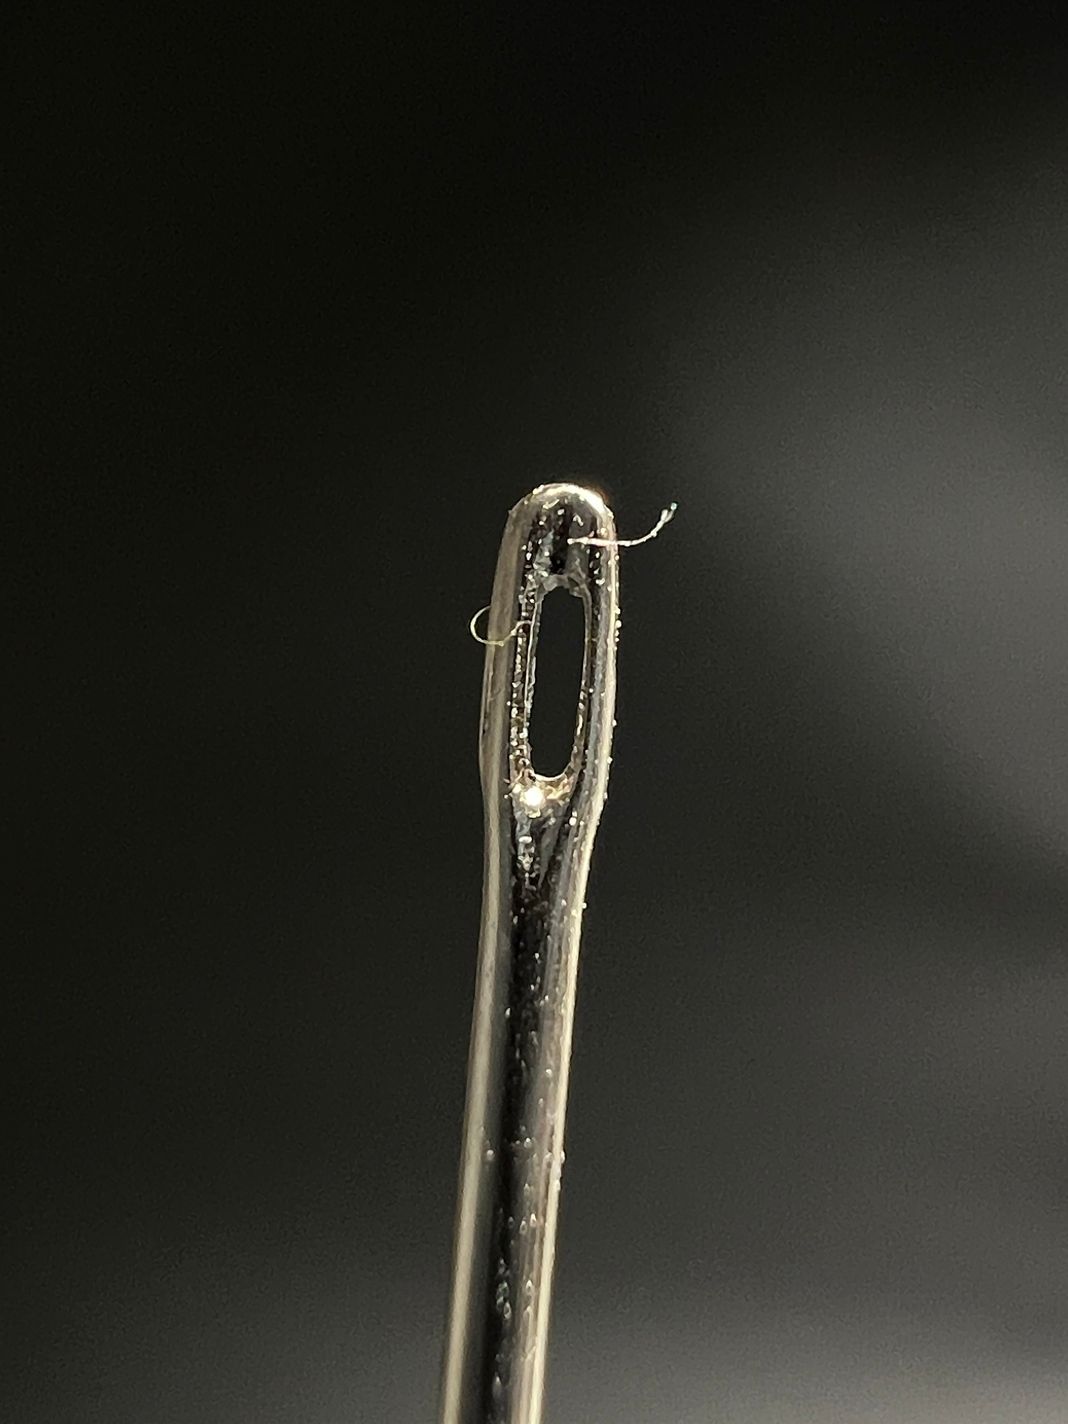
Peek through the eye of a needle…
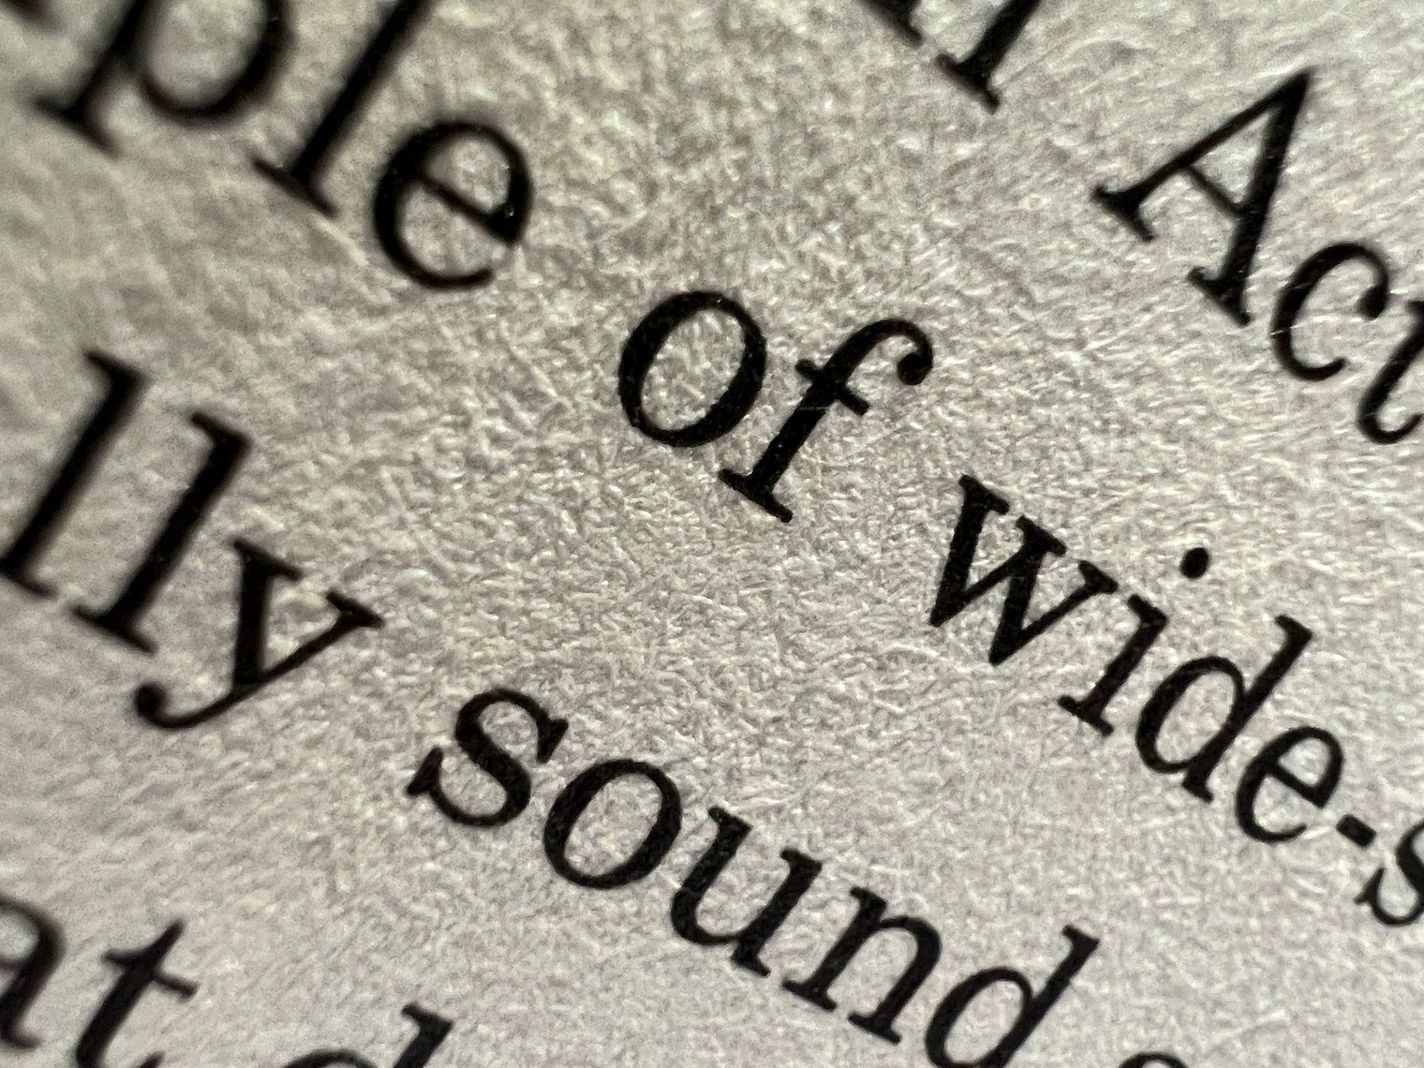
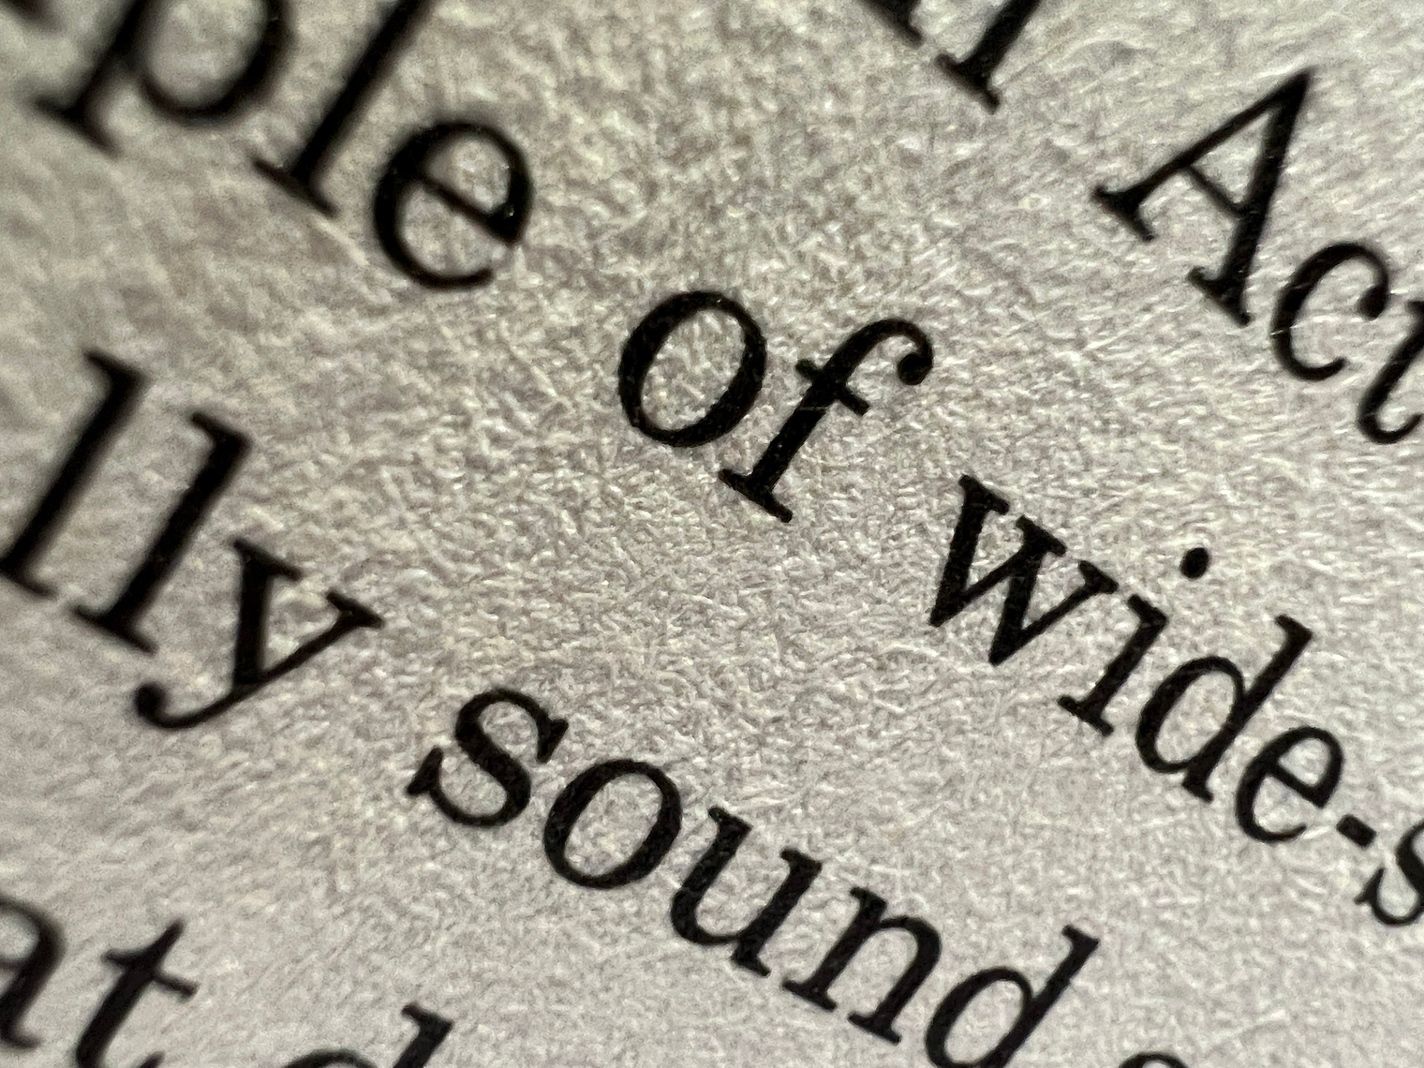
The page of a book becomes a landscape of fibers stained with ink…
This lens is like a window to a hidden world, and that’s why we’re excited to have this power on a phone we carry around all day. But macro photography on iPhone isn’t technically new. For years you’ve been able to buy lens add-ons (“secondary lenses“) which act like reading-glasses. These dongles cost anywhere from $10 to $125, but even the most expensive ones can’t match the real thing.
On a technical level, the problem is that these lenses reduce the depth of field— how much of your image is in focus. The closer you focus, the slimmer that in-focus area gets. Adding another lens on top of this makes it even slimmer. You can deal with this problem on regular cameras; adjusting the aperture increases the depth of field. Unfortunately, all iPhones have fixed apertures, so there’s nothing you can do.
Compare the true macro lens on the left to a lens attachment on the right:
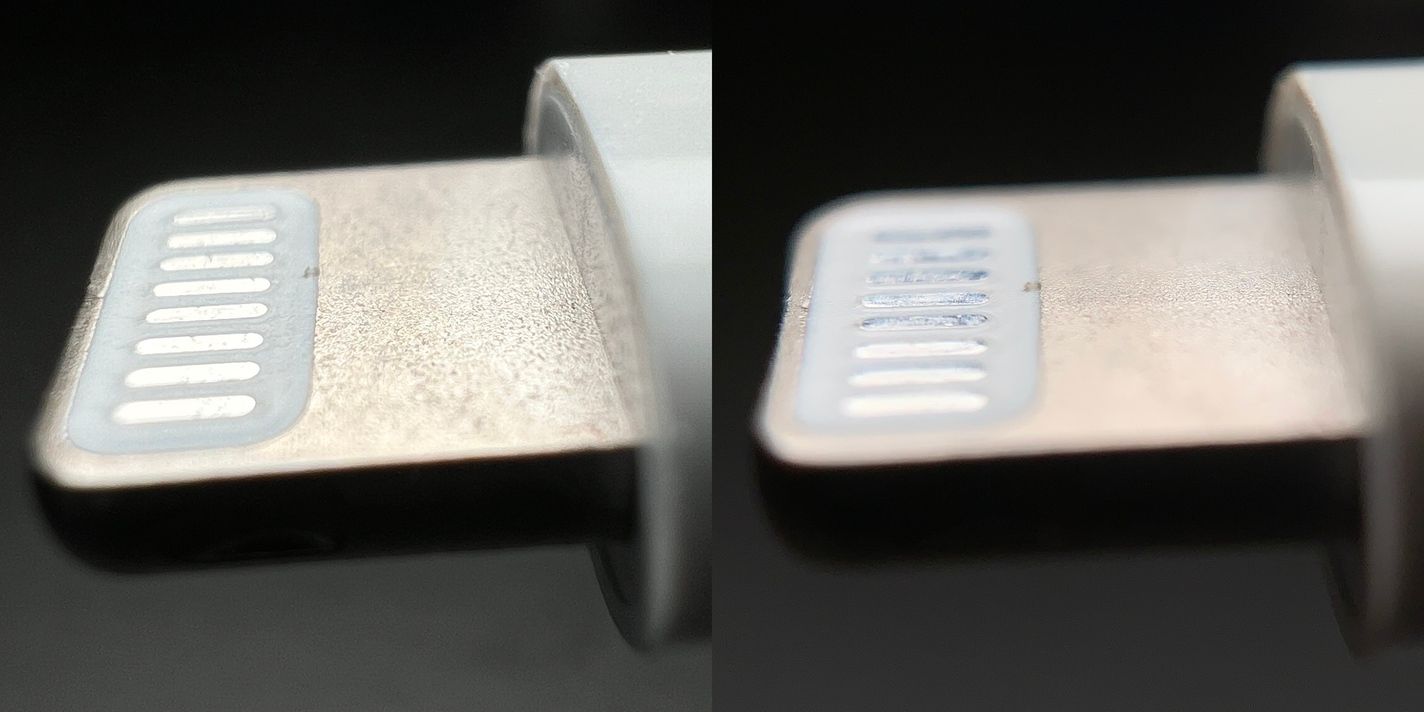
Too much blur and too little depth interfere with macro shots. When you take a photo of a bumblebee, you usually want the whole bee in focus, not just the top-left corner of its eyebrow hairs. This is such an issue with extremely small subjects that advanced macro photographers go out of their way to increase depth of field through techniques like focus stacking.
The next problem are the slight imperfections in lenses. The colors in light refract differently when passing through glass, causing what is known as chromatic aberration. These create subtle color shifts and fringes along edges. If such imperfections exist on built-in lenses, iOS can automatically remove them because it know about these lens characteristics. It just can’t do that for accessories.
On top of that, from a purely practical perspective, it’s annoying to carry around dongles that you need to attach and detach from dedicated mounting hardware on your phone. There’s the old saying, “The best camera is the one you have with you,” and the same is true of lenses.
The Gotchas
While macro on the iPhone 13 Pro is a huge leap forward, it’s not without surprises.
If you push it to its limit and try shooting from an inch away, you’ll find it tricky to find a good angle because suddenly the iPhone itself casts a shadow on your subject. On top of that there’s that shallow depth of field at the absolute minimum distance. So don’t feel like you have to focus at the absolute minimum. An extra inch can make a big difference.
Another challenge is that macro is only available on the ultra wide lens. This isn’t a popular lens for everyday photography because of how it warps subjects. This is the full photo of my watch from earlier.
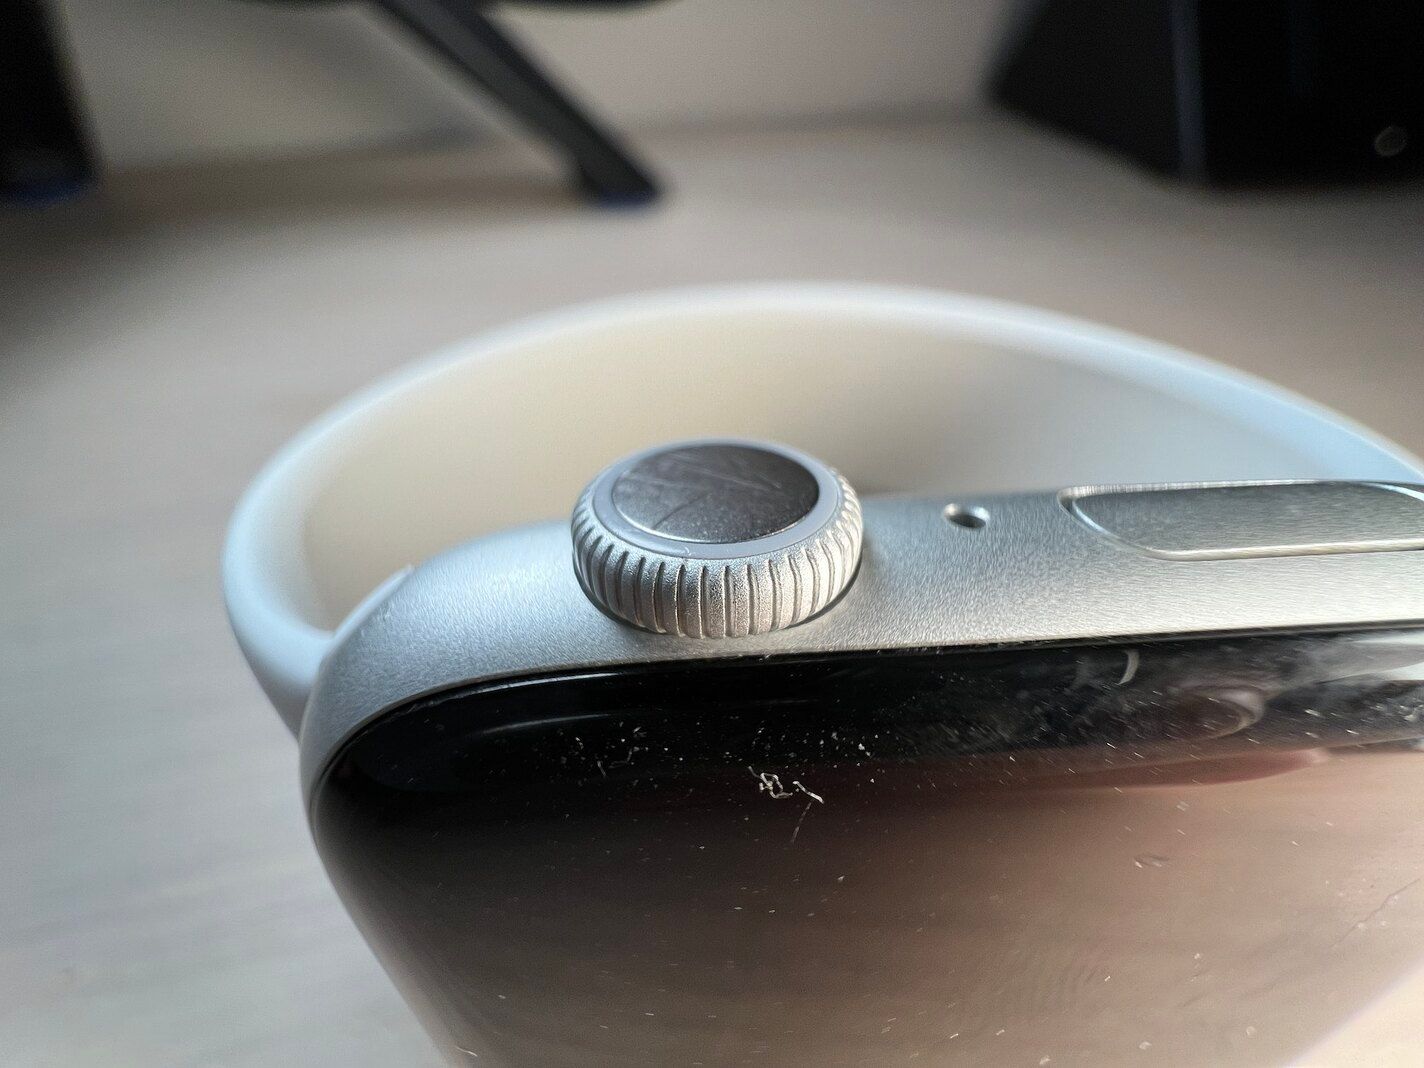
The first party camera defaults to cropping the image as if it were shot with the wide-angle camera. The question is whether most users will notice that it isn’t a “true” 4k image — it took the shot, zoomed in on it, and cut the rest off!
Believe it or not, Apple has pulled off silent cropping for years. If you tried to focus on something too close for the telephoto lens to handle, or the scene just requires more light, the iPhone quietly switches over to the wide angle lens and crops it to make the image look like a telephoto shot.
This is a very clever feature, because explaining minimum focus distance and lens properties is for blog posts like this, not a Camera app on an iPhone that lets people take photos. Photographers might disagree, and that’s fine: Apple’s designers and engineers don’t build the camera app for 1% of photographers. They build it for everybody on the planet.
This brings us to this year’s annual iPhone controversy: the jarring transition to macro.
What are we seeing here? The wipe-transition and jumping around is caused by the Camera app switching lenses, much like we saw with the telephoto lens earlier. Your ‘main’ iPhone camera can’t really focus all that close, but the new macro-capable ultra-wide camera can. Once Camera detects that you’re not able to get the shot with the selected camera, it swaps in the camera that can.
That isn’t great, but we think the backlash is a bit much. Let’s take a detour to explain what Apple is going for.
A long time ago, anyone who wanted to drive a car had to know a little bit about shifting gears. We call that ‘manual transmission’ now. That changed with the automatic transmission, which freed drivers to think about driving in a more abstract sense: press the gas pedal, go faster. The automatic transmission is an abstraction.
Now imagine you spent your entire life driving an automatic transmission in an area without any hills, so you’ve never heard your car change gears while applying the gas. One day you take a road trip to San Francisco. The first time your car climbs one of those steep hills, it shifts into a lower gear, and your engine makes a very loud sound. It would feel a bit jarring. “Why is my engine freaking out?” But after a while, you’d get used to it.
Let’s go back to talking about cameras and human vision. At a distance, objects shift less when you move. Objects up close shift a lot more.
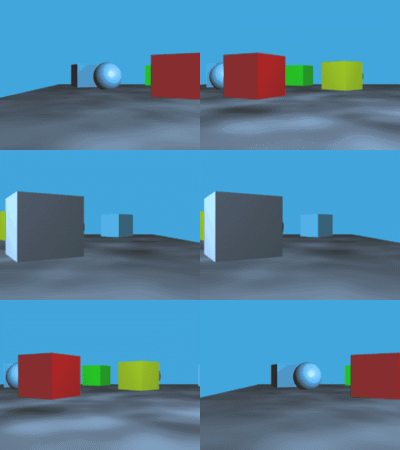
If you’re trying to take a macro shot, by its very nature, your subject is close to the camera. When you switch lenses, an inch feels huge at that distance. Sometimes iOS masks the switcheroo by repositioning the new image to overlap the old one, and translating the new vantage point into position. Look closely at the seam at the bottom of this video…
This effect helps smooth things out, but doesn’t seem to happen all the time. If they work out the kinks, it’s possible that our brains will just get used to this transition like we’re used to the sound of our cars changing gears.
Some folks are complaining about the very nature of automatically switching lenses, and we get that. While testing these features in the first party camera, there were a few times I fought with the system to get the composition I wanted. I’m sure that’ll improve with updates, but I don’t envy Apple’s position. They could build a system that works 99.9% of the time, more than enough for the billion people using the app, but it will never be 100% perfect until it’s psychic.
That brings us to our niche. We aren’t constrained the same way as Apple’s camera. We build Halide, and we built it to give advanced photographers full control over their camera, rather than abstractions. When you press the 3✕ button, you always get the zoom lens. No switcheroo here.
Using the macro mode on iPhone made us think — what can we do as a camera app to make macro photography absolutely fantastic on iPhone for the less casual user? We quickly figured it out: we had to build a dedicated Macro Mode into Halide. Surprise: we used it to capture all of our macro photos in the post. Double surprise: This is actually a launch announcement!
Introducing Halide 2.5’s Macro Mode
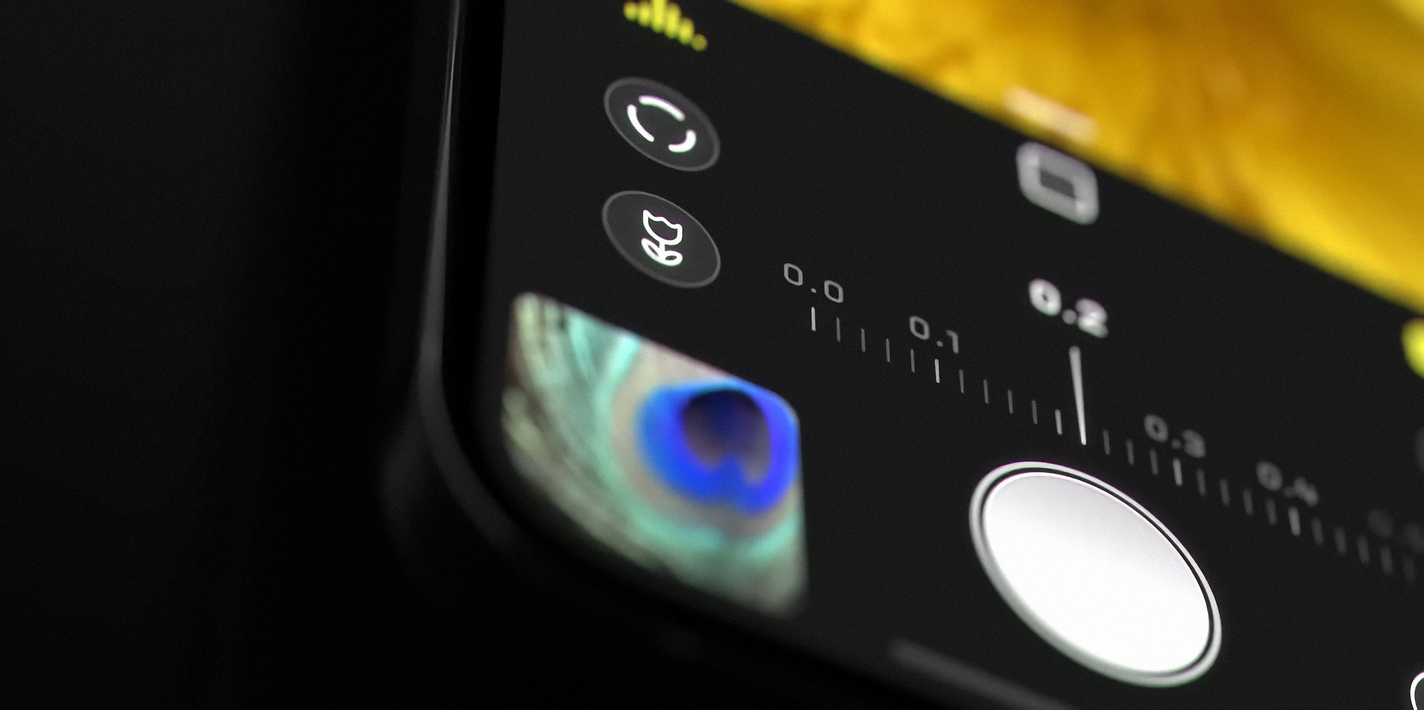
Today, we’re launching Halide 2.5. It’s a big update with one of the coolest features we’ve ever packed into the app. We were close to just calling it Mark III, as with our huge update last year — it’s just that significant.
What makes Halide 2.5’s Macro Mode so special? For one, it brings Macro capabilities to all iPhones. Let’s dig in.
A Tour of Macro Mode
Unlike the built-in camera, we decided to really make Macro photography a deliberate ‘mode.’ Of course the ultra-wide camera in Halide will still automatically focus on very-close subjects, but a separate mode unlocks some very powerful tools and processing specific to macro.
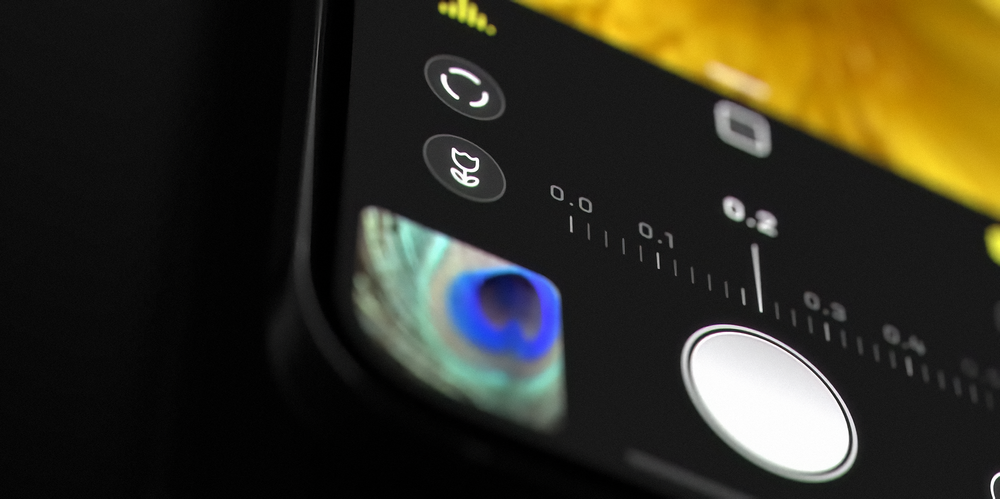
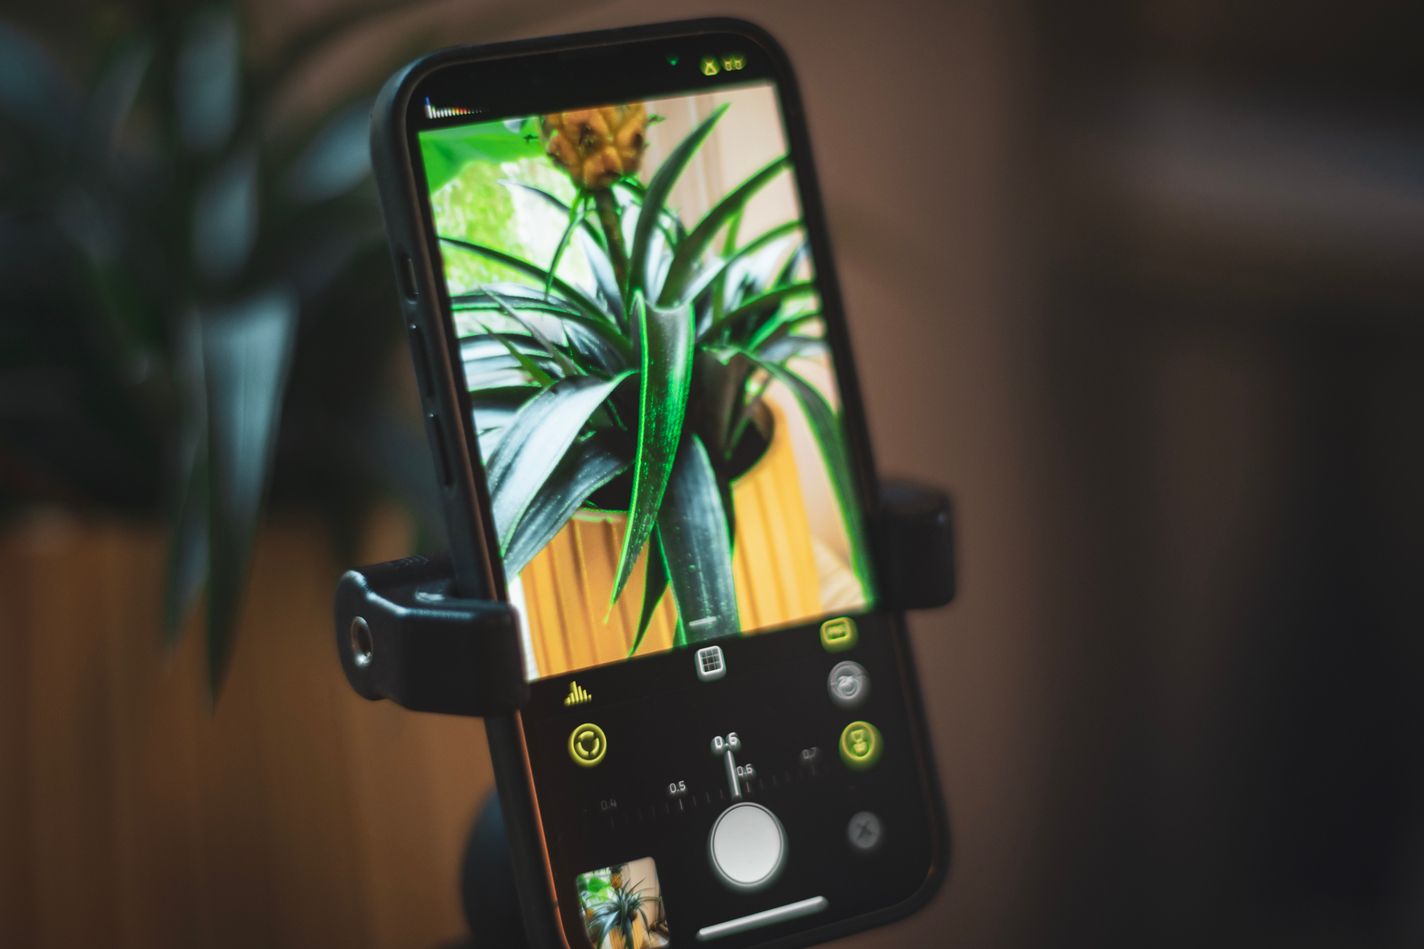
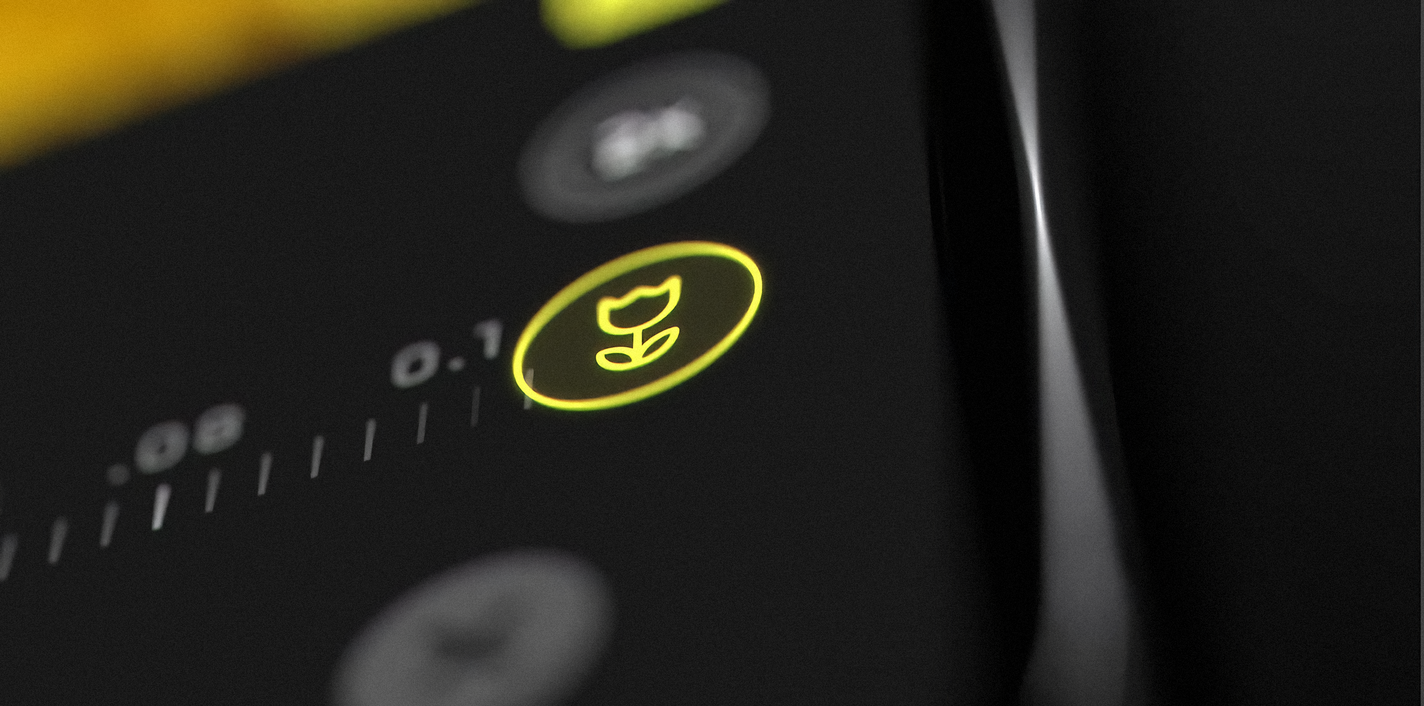
To start, tap the “AF” button to switch from auto focus to manual focus. Since Macro is often best done with the focus fixed to a close subject or with some adjustment, Macro Mode lives in the manual focus controls. To then enter Macro Mode, tap the the flower icon — the universal symbol for macro. Ours is a tulip, because our designer is Dutch. They’re funny like that.
Entering Macro Mode, smart things start to happen in Halide. To begin, Halide examines your available cameras and switches to whichever one has the shortest minimum focus distance. Then it locks focus at that nearest point. You can tap anywhere on screen to adjust focus; unlike our standard camera mode, we configure the focus system to only search for objects very close to you.
If you’d rather adjust focus by hand, we increase the swipe-distance of our focus dial so you can make granular adjustments down to the millimeter. To nail that focus point, Focus Peaking draws an outline around the sharpest areas of your image. You can set it to automatically trigger when adjusting focus, or you can turn it on and off.
As we mentioned before, you usually want to crop macro shots. But if you just try to blow up your image in an editor, as we showed earlier, you’ll end up with a blurry or pixelated result. Not great.
We knew we could do better, so we’ve packed the science of super resolution into a feature we call Neural Macro. We trained a neural network to upscale images in a way that produces much sharper, smoother results than what you typically get in an editor. It’s available on all iPhone with a neural engine— anything made in 2017 or later— and it produces full 4k resolution JPEGs at either 2× or 3× magnification.
The results are incredible; here are two unedited photos taken with the fairly humble iPhone 12 mini, which has no macro lens:
This Neural Macro stuff sounds advanced and cool, but we understand that some of our users are purists. A mode like this does alter your image. We respect choices: If you change your mind about the cropped and enhanced version later, the crop is only saved as an edit in your camera roll. You can always go back to the un-cropped version by opening it up in the iOS Photos app, tapping “Edit” and “Revert.”
Oh, what about RAW files? RAW files are RAW, and we respect that. They are left untouched and unprocessed. That means that shooting in pure RAW will just give you the extra control of Macro Mode, but none of the fancy Neural Macro technology. In RAW+JPG mode, you get the best of both worlds, with an unprocessed RAW file and a Neural Macro enhanced JPEG shot.
That’s Macro Mode. Even if you don’t have the iPhone 13 Pro, you can now take cool Macro shots. This photo was shot on an iPhone 12 Pro:
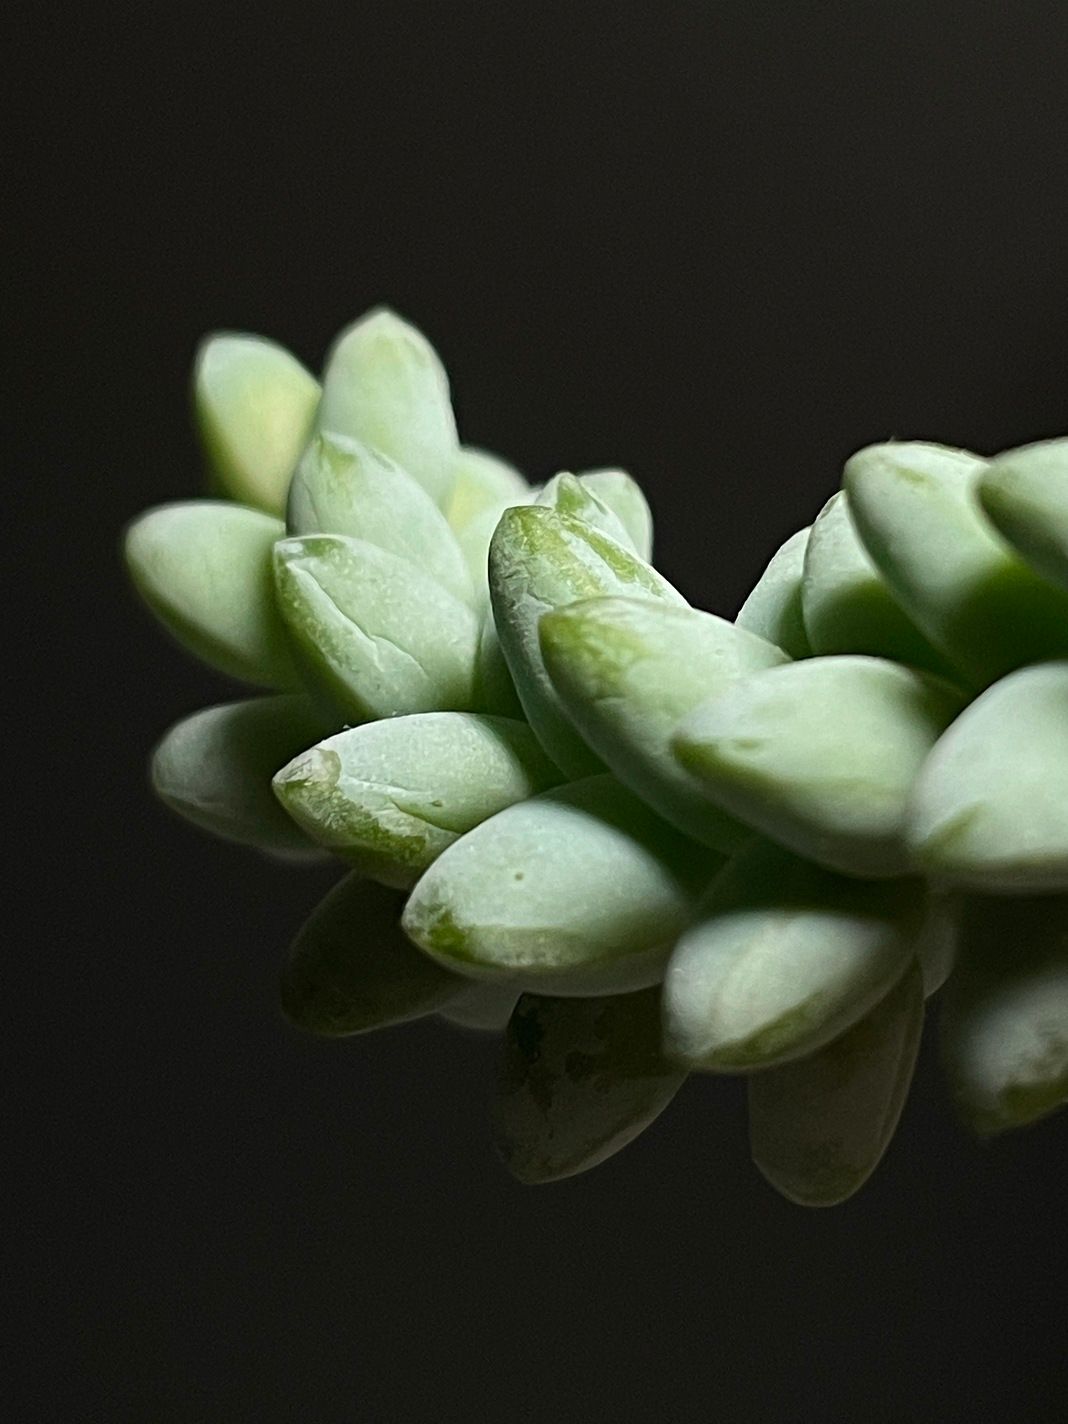
But you can also use Macro Mode with the iPhone 13 Pro’s macro-capable lens, and those results are mind-blowing. Your macro camera becomes almost like a microscope:
Suffice to say we absolutely cannot wait to see what kind of shots our users will take with this — iPhone 13 Pro or not. We think it’ll enable photography of a whole unseen universe around us.
This wraps up a really big update that supports the latest and greatest. We packed a lot of quality features into this update for iOS 15, iPhone 13 and iPhone 13 Pro. Overall, we’re super happy with the APIs Apple launched to support the new hardware.
All those goodies are out now, with Macro Mode — available to all Halide users, including the folks who bought Halide 1.0 over four years ago. When we introduced Halide Mark II last year, we gave that huge upgrade away for free for our existing users, with a year of free updates to boot. To those early supporters, this is a gentle reminder that this is the last month of free feature upgrades. While your Halide Mark II app will continue to work and keep all its features, if you’d like to keep receiving major updates like this, you should check out our renewal options inside Settings. We’re even running a sale!
For all of those just joining us: Halide Mark II can be tried for free for 7 days, and we offer a subscription or pay-once option. Check it out here!
Closing Thoughts
As photographers, we find the iPhone 13 Pro’s new macro capabilities an absolute joy. From a value perspective, this camera outperforms bulky lens accessories that cost over $100, and you’ll never leave it at home in a sock drawer. With this new Macro Mode in Halide, we hope many users discover the simple pleasure of photographing the little things around us.
We’re not nearly done yet: We are still deep in our research on the iPhone 13 Pro camera. Check in soon to see our full report, including how the 3× zoom stacks up. Stay tuned.
In the mean time, we’d love to see what you’re doing with Halide’s Macro Mode. Tag your photos #ShotWithHalide for a chance to be featured on our Instagram. Til next time!


