


Last week we dove into the differences between the iPhone X and XS cameras. We were surprised to find how differently the iPhone XS camera operates, and that the iPhone X delivered better RAW photos than the iPhone XS by default.
If you haven’t read it yet, it’s an interesting deep dive into the latest cameras from Cupertino:
Today, we’ve launched another update to Halide that brings a feature for iPhone XS that doesn’t just alleviate the problem, but brings the best RAW quality and sharpness we’ve ever seen on any iPhone. In this post we’ll talk about what we’re doing.
A Brief Review of Exposure
On an iPhone, the brightness of a photo is decided by two ‘knobs’: the shutter speed and ISO. As you fiddle with one of these knobs, the image gets brighter or darker.
You can turn one knob up and another down to to keep the same brightness, but it creates a very different look.
Slow down the shutter speed and you end up with motion blur:
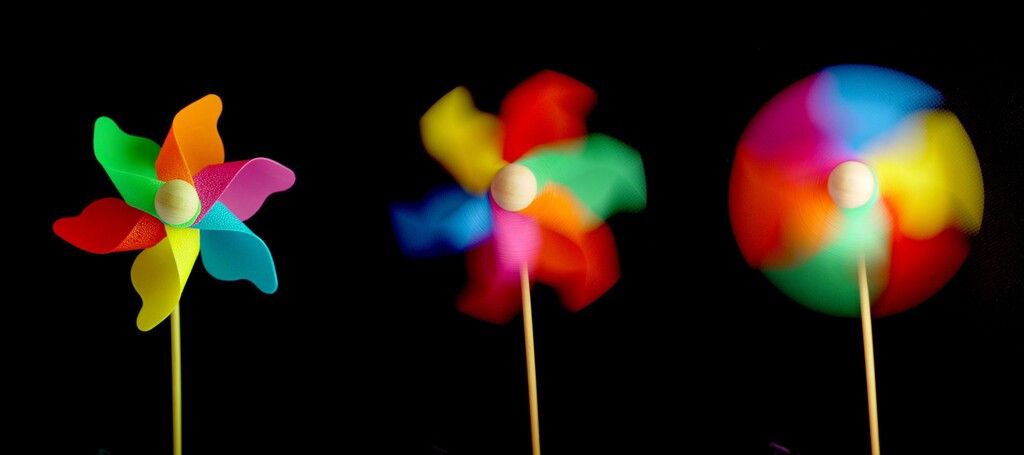
Turn up the ISO and you end up with noisier images.

Apple knows that most people shoot photos with their phone in their hand, so they’ve always kept the shutter speed above, say, 1/30 of a second. If you go slower, you’ll start seeing blur due to the natural motion in your arm muscles.
In low light, 1/30 doesn’t get you very far, so the iPhone has to pump up the ISO. To hide it, iOS applies a noise reduction filter. At first glance everything looks fine, but if you zoom in you’ll see it erodes details and gives everything a painterly look.
This is one of the top reasons to shoot RAW: you can choose how little noise reduction you want to apply.
Because of the tiny sensor in mobile phones, shooting with low ISO is one of the most important factors in great iPhone photography. That’s why we initially launched Halide 1.0 with the ability to lock ISO in place. Enter manual mode, select your ISO, and then when you tap-to-expose we find a complimentary shutter speed.
That was fine until the iPhone XS.
iPhone XS Defaults to Higher ISO
For reasons we got into in our last post, the iPhone XS deviates from previous iPhones by preferring a faster shutter, and therefore higher ISO.

This isn’t a big deal with Smart HDR, because blending three photos together naturally reduces noise. However, RAWs just ends up with much more noise.
We also found RAWs slightly overexposed, losing valuable highlight information when you go to edit later.
How Smart RAW Works
Smart RAW is our better algorithm for choosing shutter speed and ISO when shooting RAWs on an iPhone XS. There’s nothing to turn on. When you shoot with Auto-Exposure and RAW enabled, it just works.
The way it works is by taking a two photo bracket. The first photo uses the default, system exposure settings. We save that as a JPEG.
In the second photo, first we move the shutter speed one stop lower to deal with overexposure, and then we find the lowest possible ISO based on your device configuration. We’ll use a simple example.
Let’s say the system recommended a capture at ISO 40 at 1/50. We bump the shutter to 1/100, and then we rebalance settings to achieve the lowest possible ISO. In this case ISO 20.
For a more complex example: let’s say your iPhone wants to shoot ISO 40 at 1/50. Let’s say your device can only shoot at 1/30 before things get blurry. In this case, we’ll try ISO 20 at 1/25, see that’s too slow, and nudge the ISO back up so we hit 1/30.
Our final algorithm accounts for even more small details like the focal length of the camera and optical image stabilization, as well as some secret sauce we can’t discuss which gives a fantastic final RAW image as the result.
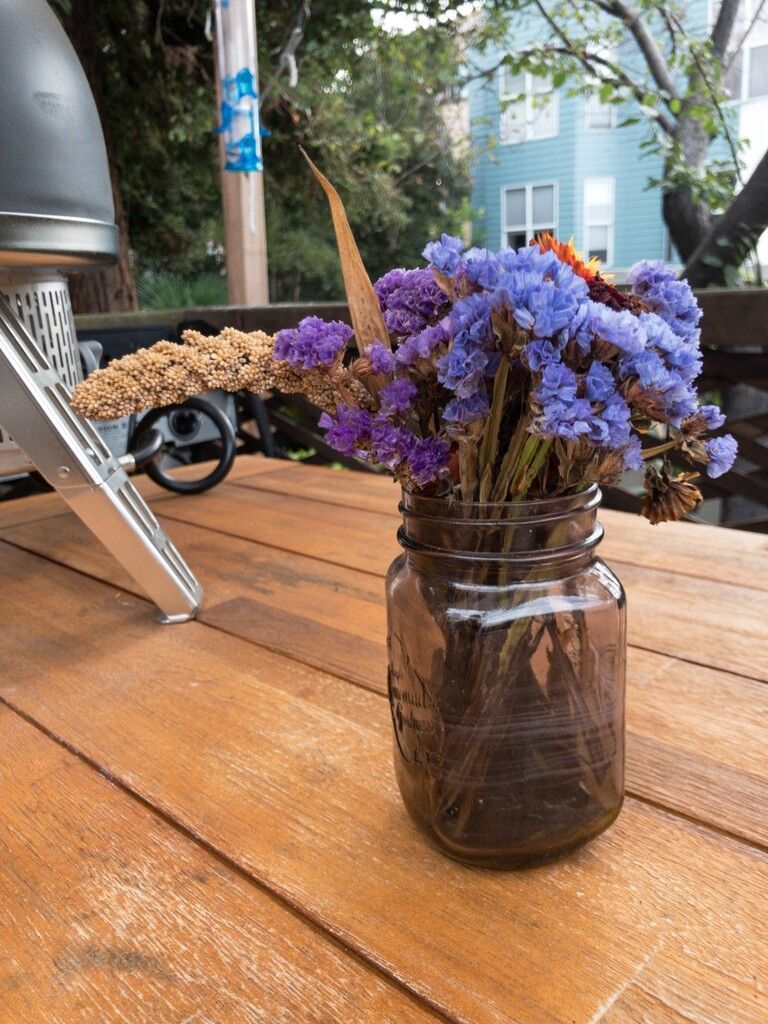
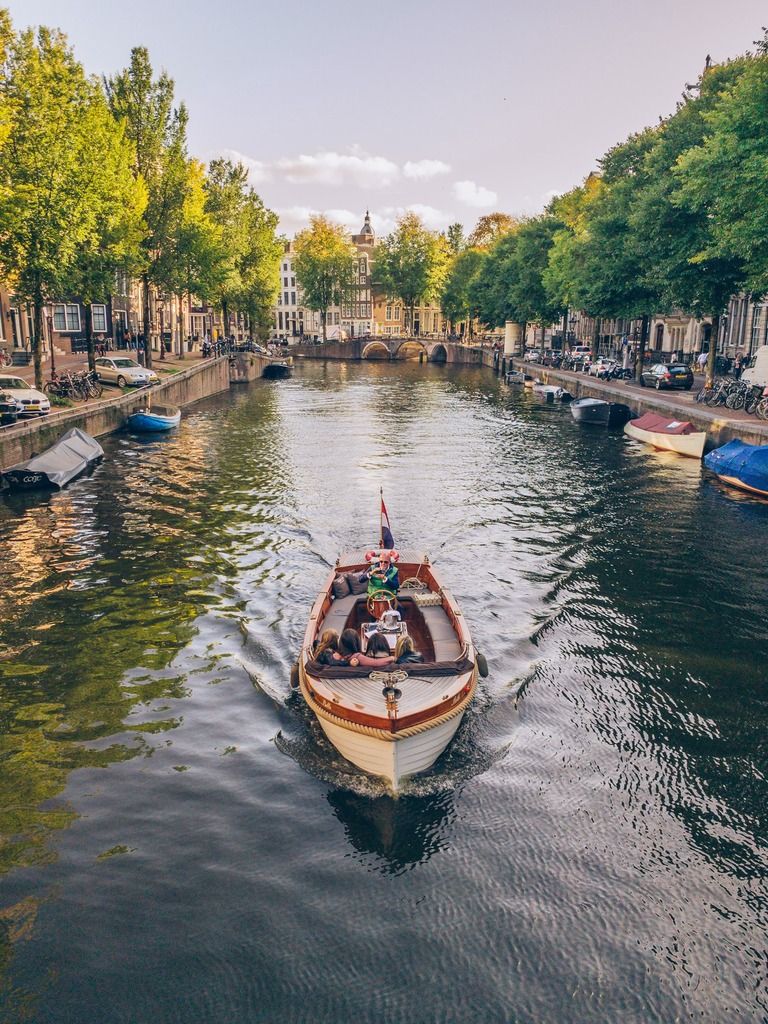
The results? Sharper shots.
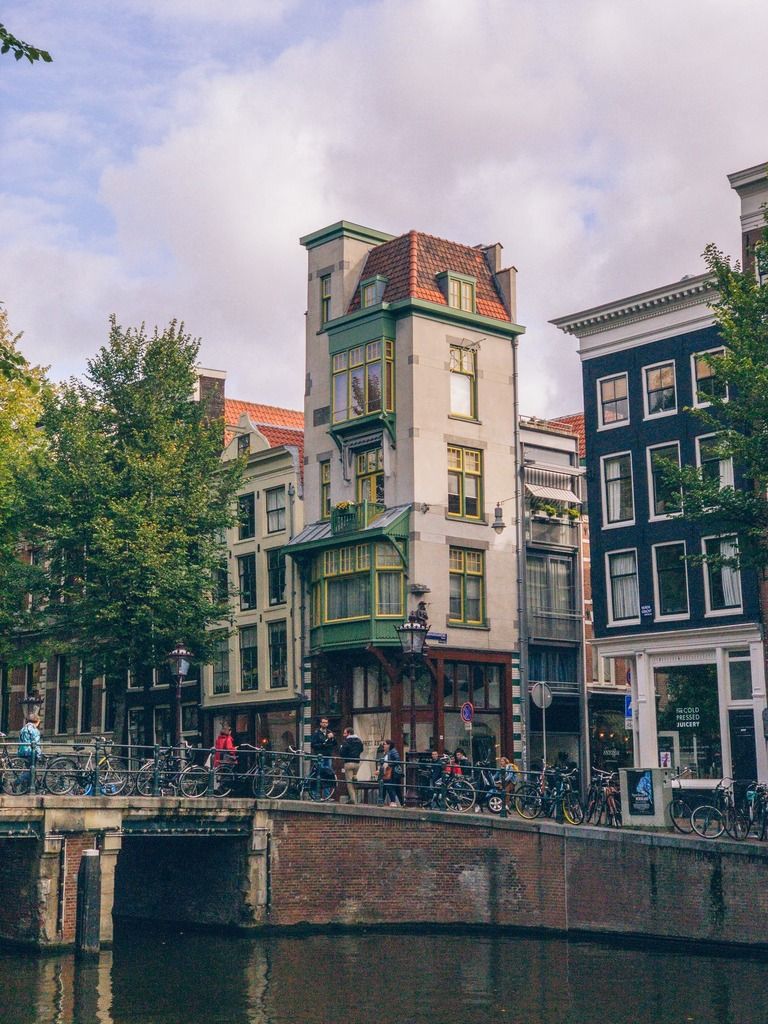
In this shot of an Amsterdam canal, you’d be astonished of the detail you can now resolve with the iPhone XS, down to the pillows on the boat. You can now even read what they say: they’re pillows from a local hotel, the Pulitzer Amsterdam:

We think Smart RAW is vastly superior to the system auto-exposure when shooting RAW. At the same time, no auto-exposure system will ever be perfect. If you’re taking a photo of a fast moving subject, you may want a faster shutter speed. In that case, switch to manual exposure, and you’ll get exactly whatever shutter speed and ISO you set. However, we strongly recommend slightly under-exposing in the viewfinder, due to the RAW over exposure we talked about.
To help spot-check the final RAW, we’re launching one more feature…
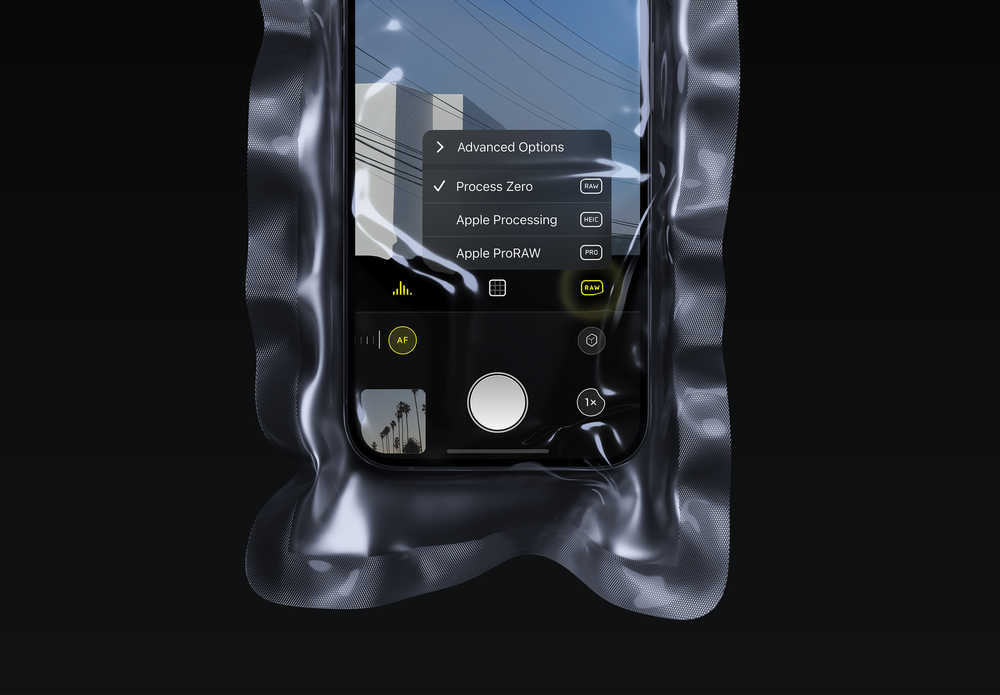
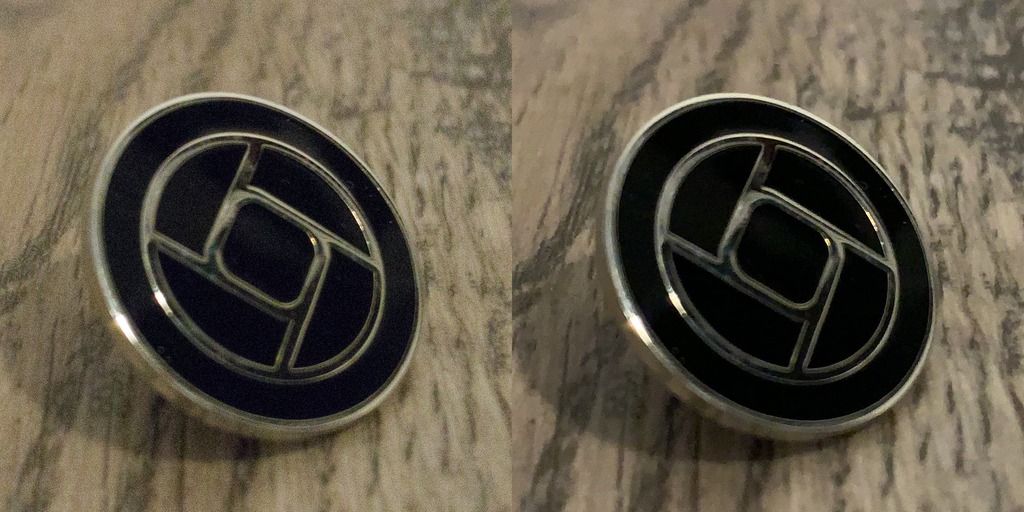
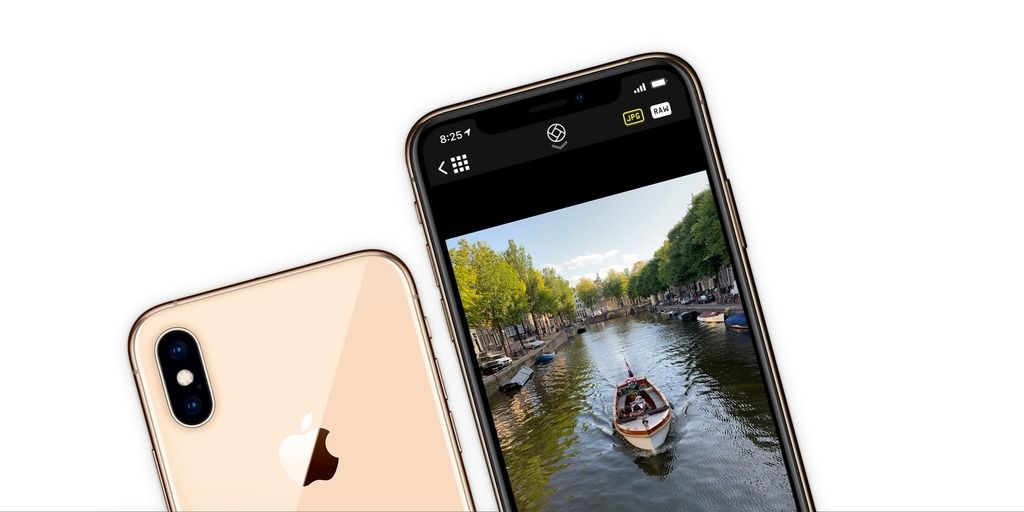
A RAW Toggle in the Photo Viewer
To see the difference between system JPEGs and RAW, we’ve added the ability to toggle between the the two in the photo reviewer. Just tap the file format in the upper right.
Don’t be surprised if the system JPEG looks better straight out of camera. Remember, RAWs shine in editing. We show the ugly, unedited RAWs so you can quickly glance at the dynamic range without having to jump into an editor. For a quick intro to RAW editing, see our guide.
Smart RAW is great, but we also have some great ideas for making even smarter exposure decisions in the future. This is just the first version of Smart RAW, and we fully intend to continue working to make the smartest, best camera for iPhones out there.
#SmartRAW
We asked you to tag your photos with #SmartRAW, and we’re excited about the photos rolling in. Remember, these were all shot with automatic exposure! Tag yours with #SmartRAW and #ShotWithHalide so we can feature them on our Instagram!

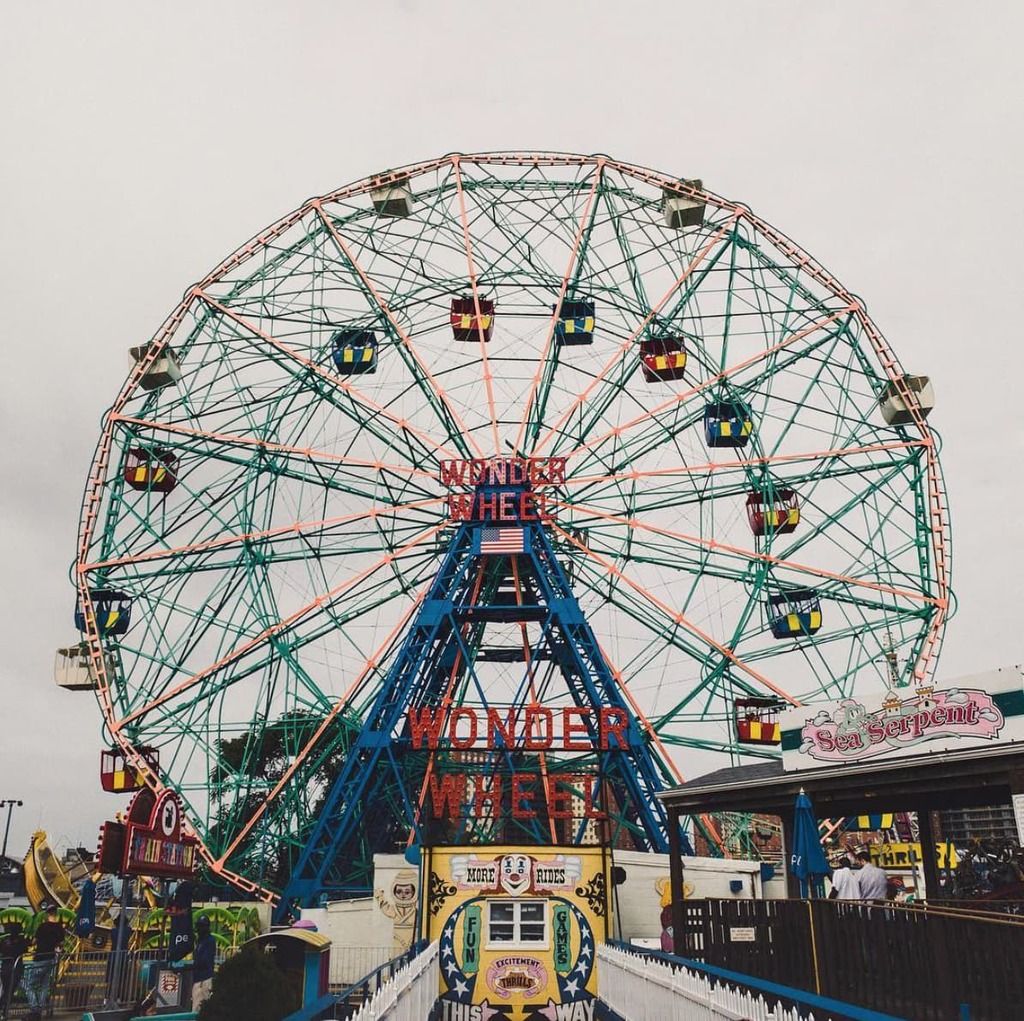
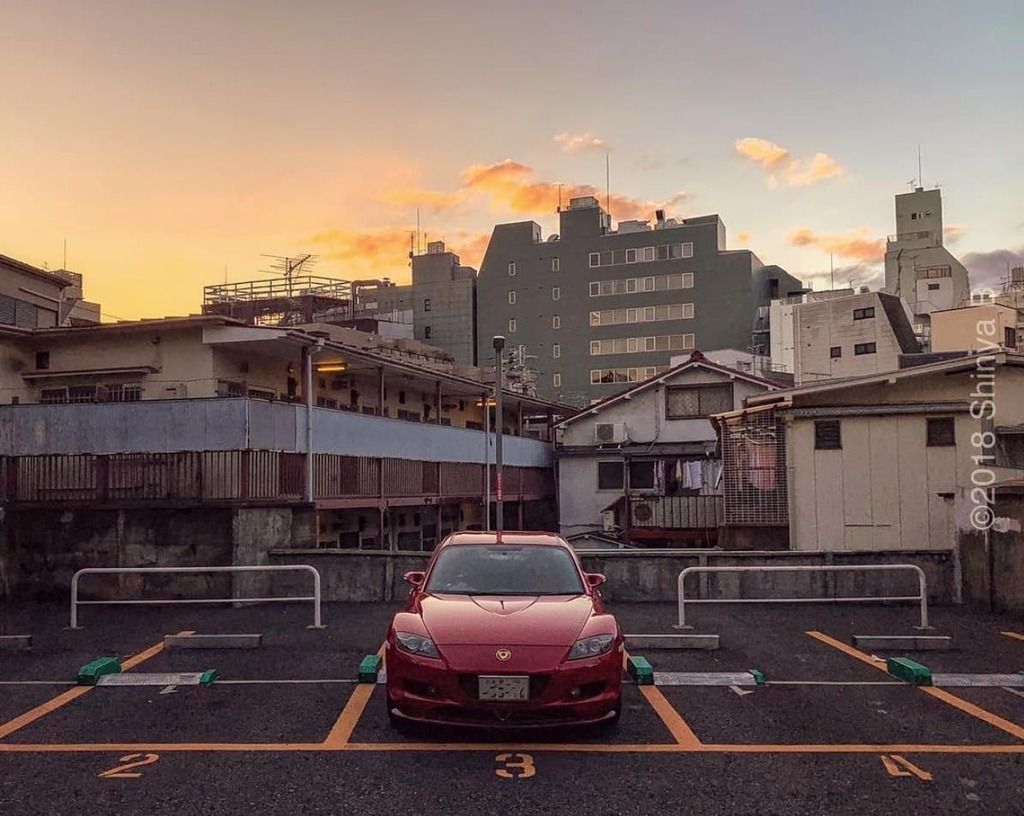
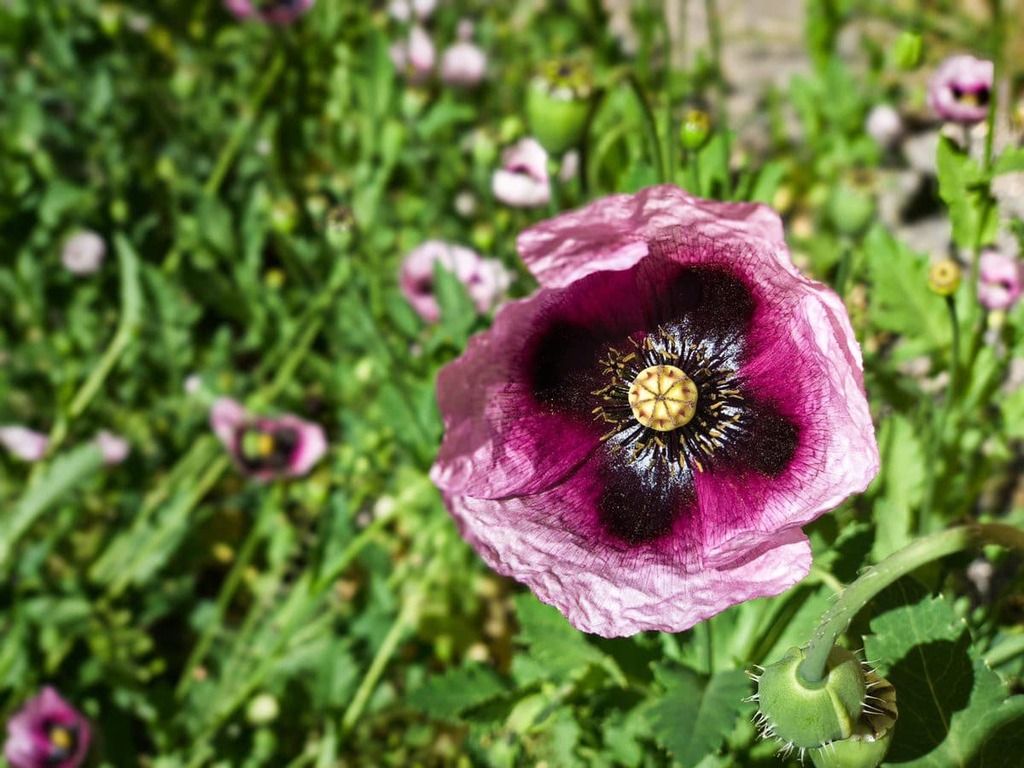
Keep tagging your photos with #SmartRAW! We are super excited to have this update in your hands and we can’t wait to see what you do with it.