


We released an app this year to turn your iPad into an HDMI monitor this year called Orion. In the meantime, we've gotten a few questions on exactly how to use it. While we have a manual in the app, here's our own detailed quick guide to help you get started.
Setting up your iPad with Orion might seem a little daunting if you're new to this. No worries: we've broken down the process into simple steps to get you started.
What you'll need:
Before diving into the setup, ensure you have the following:
- An iPad with a USB-C port running on iPadOS 17 or later*
- A USB-C to HDMI Capture Card (These are available on Amazon for around $15 to $20). We keep a list of compatible ones (and incompatible ones) here.
- An HDMI cable - any HDMI cable should work, but we highly recommend a 'high-speed' labeled cable or faster. This can help reduce latency for gaming.
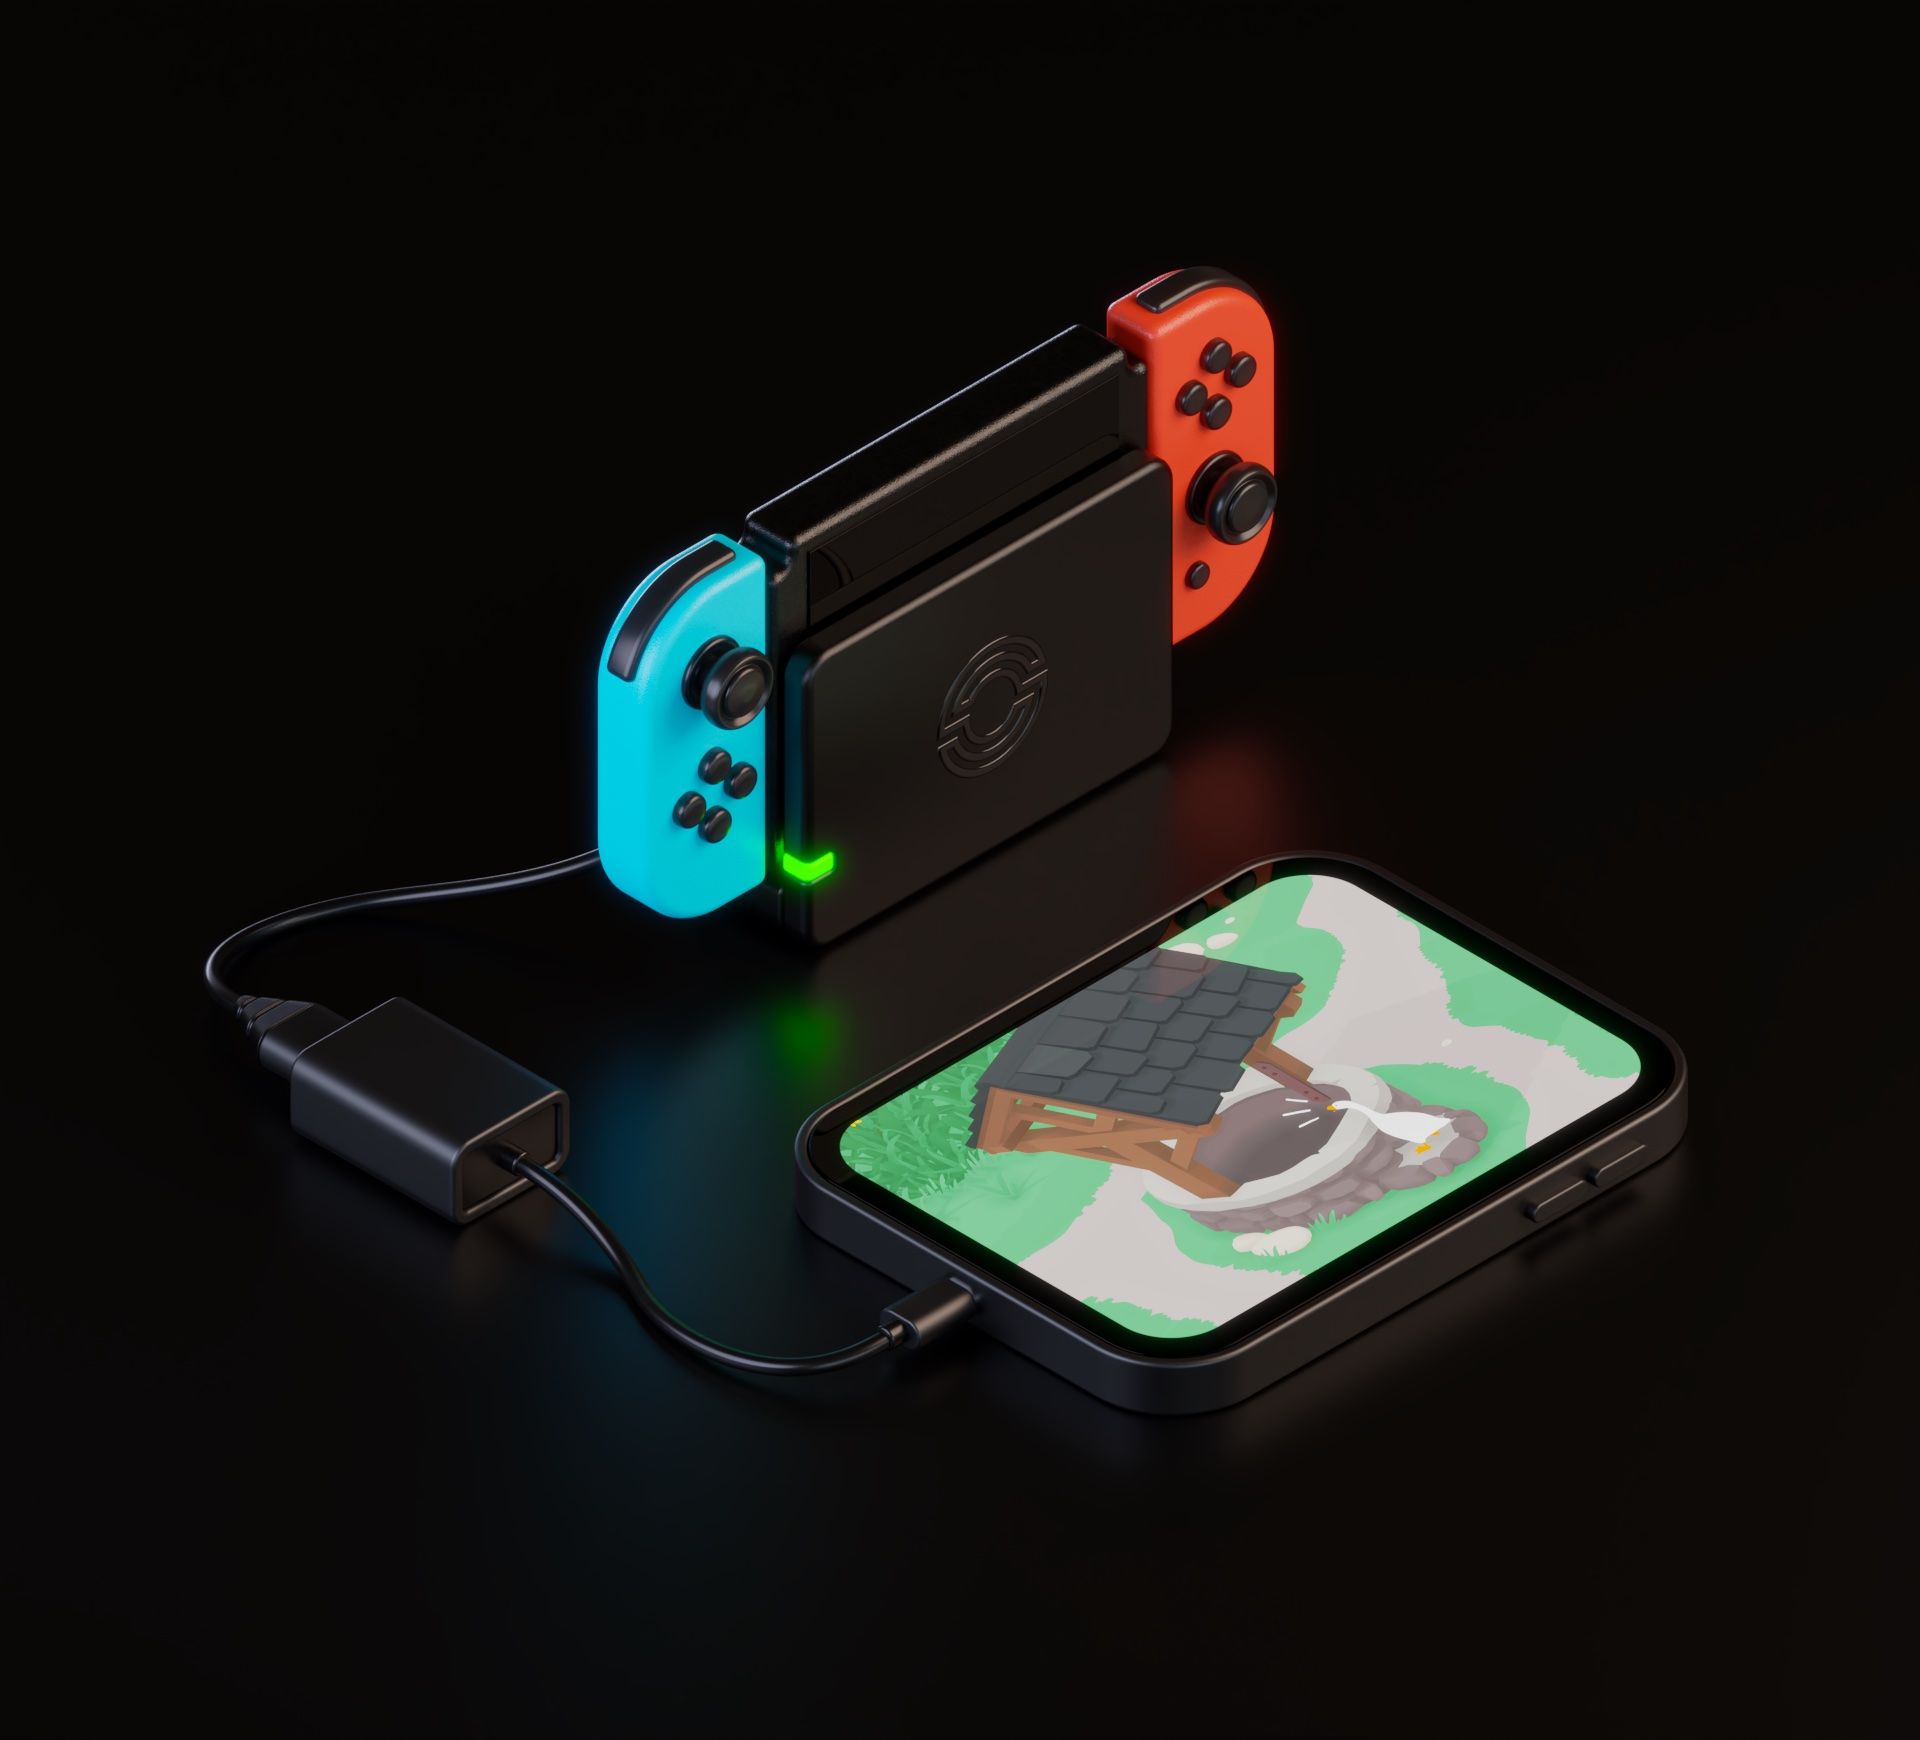
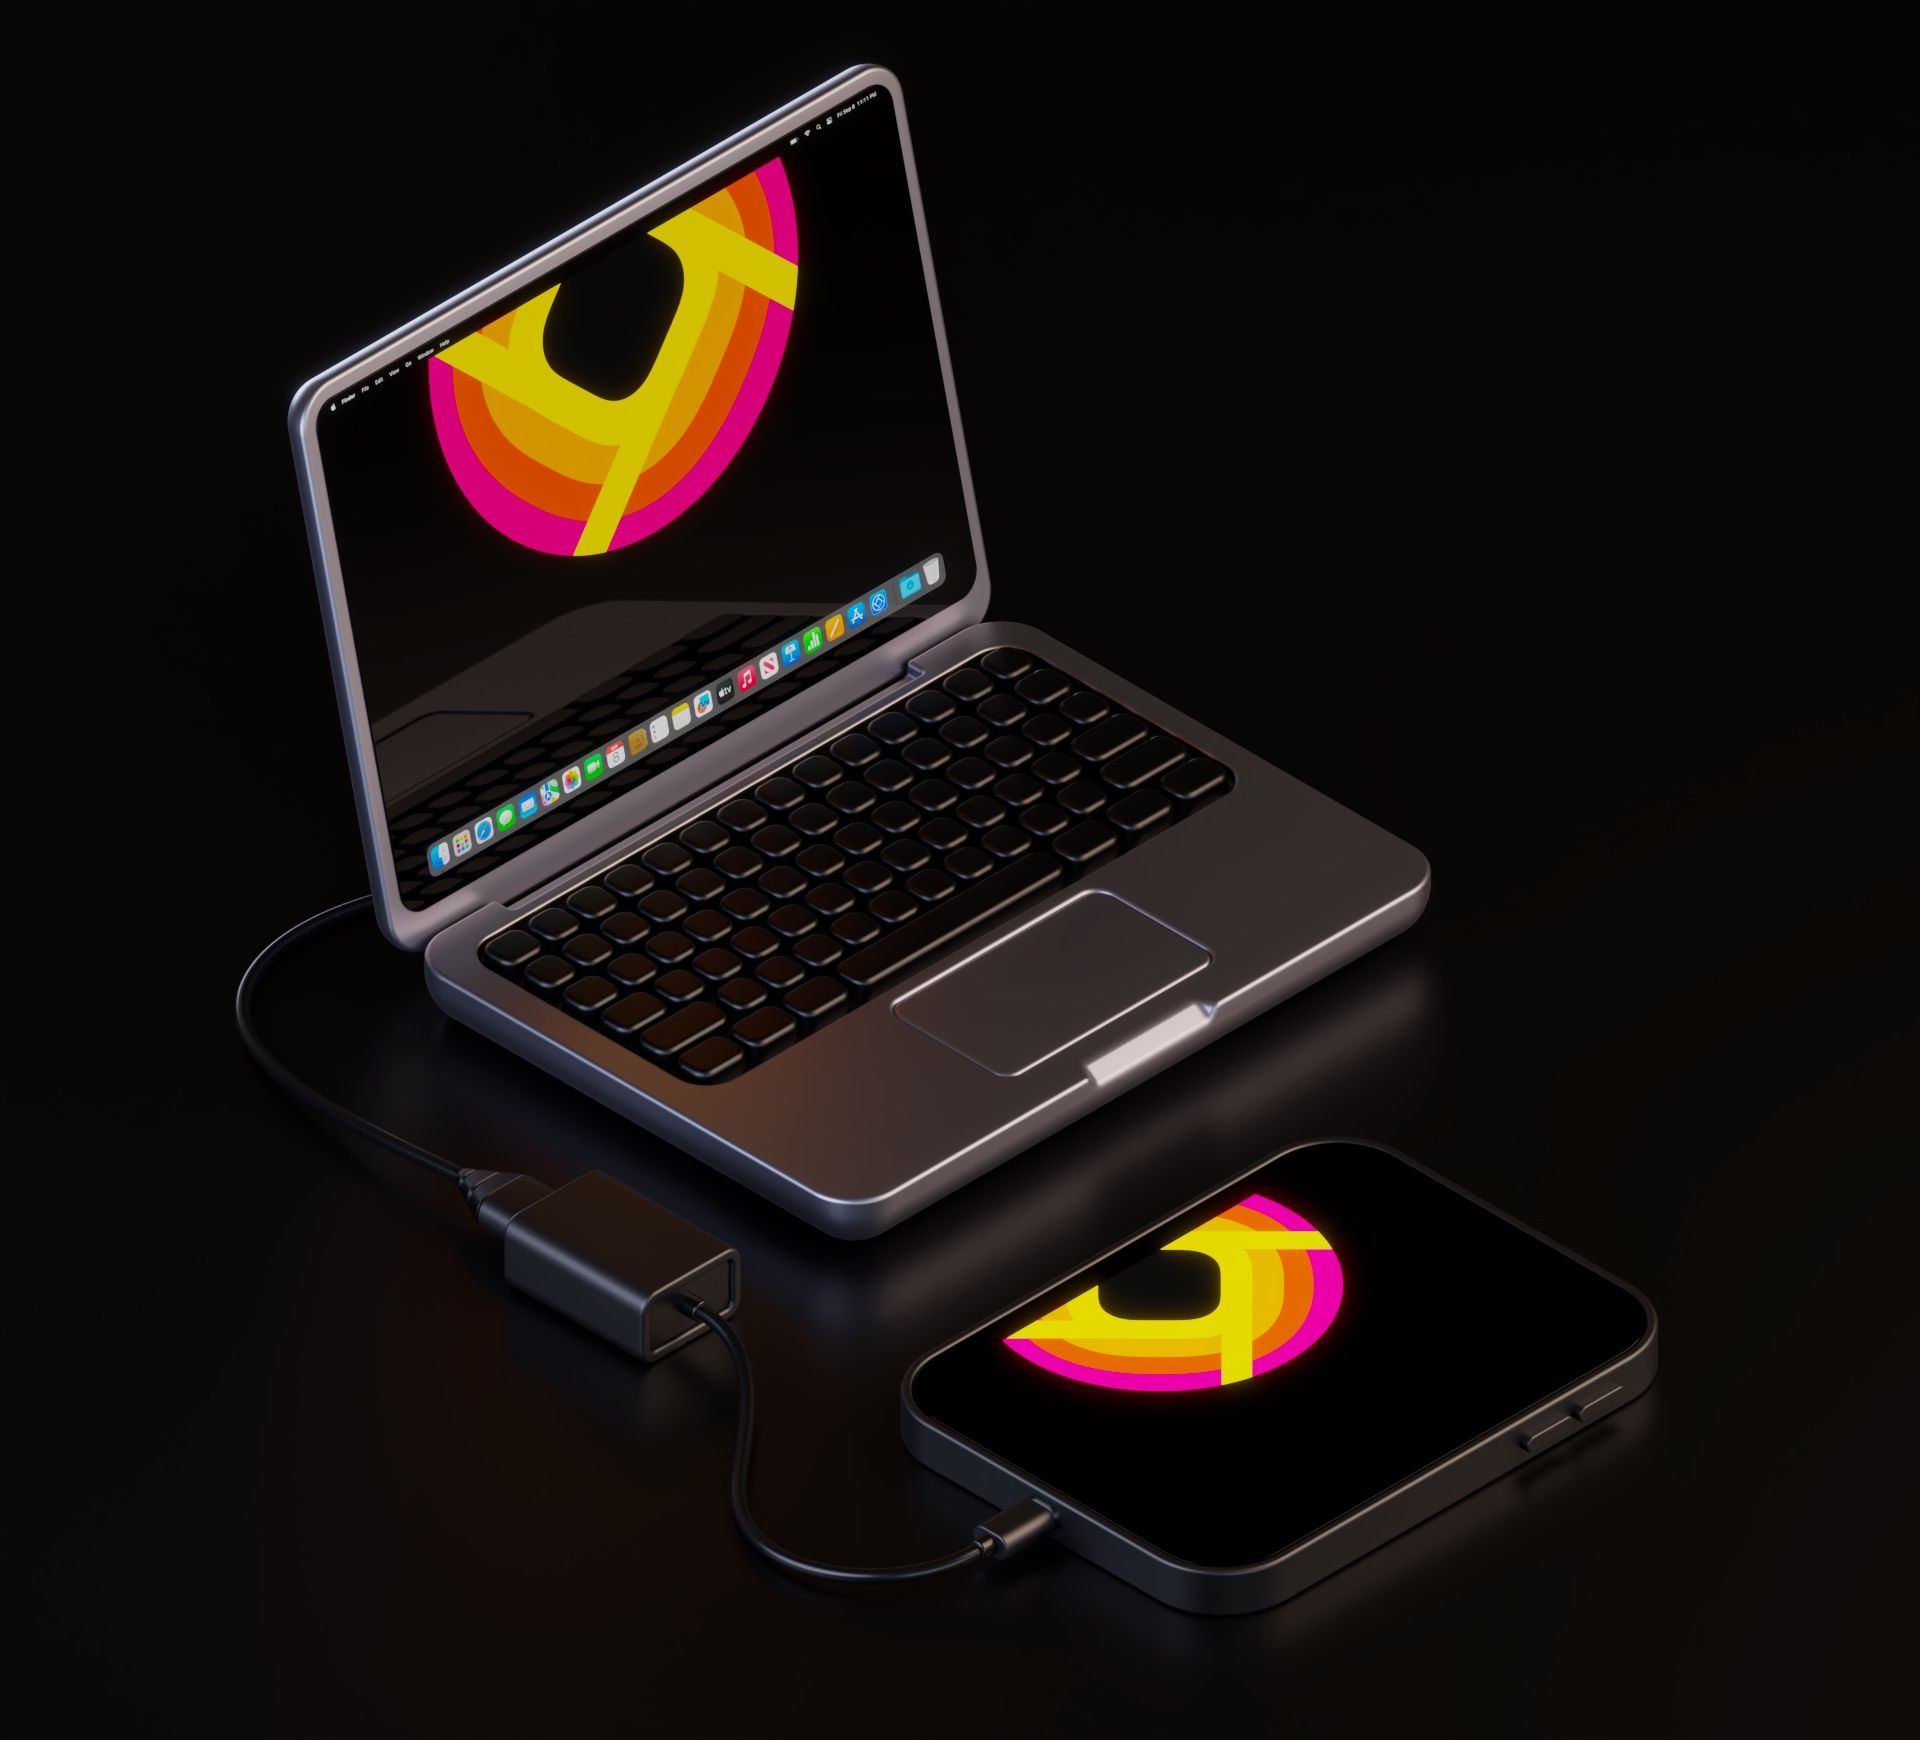
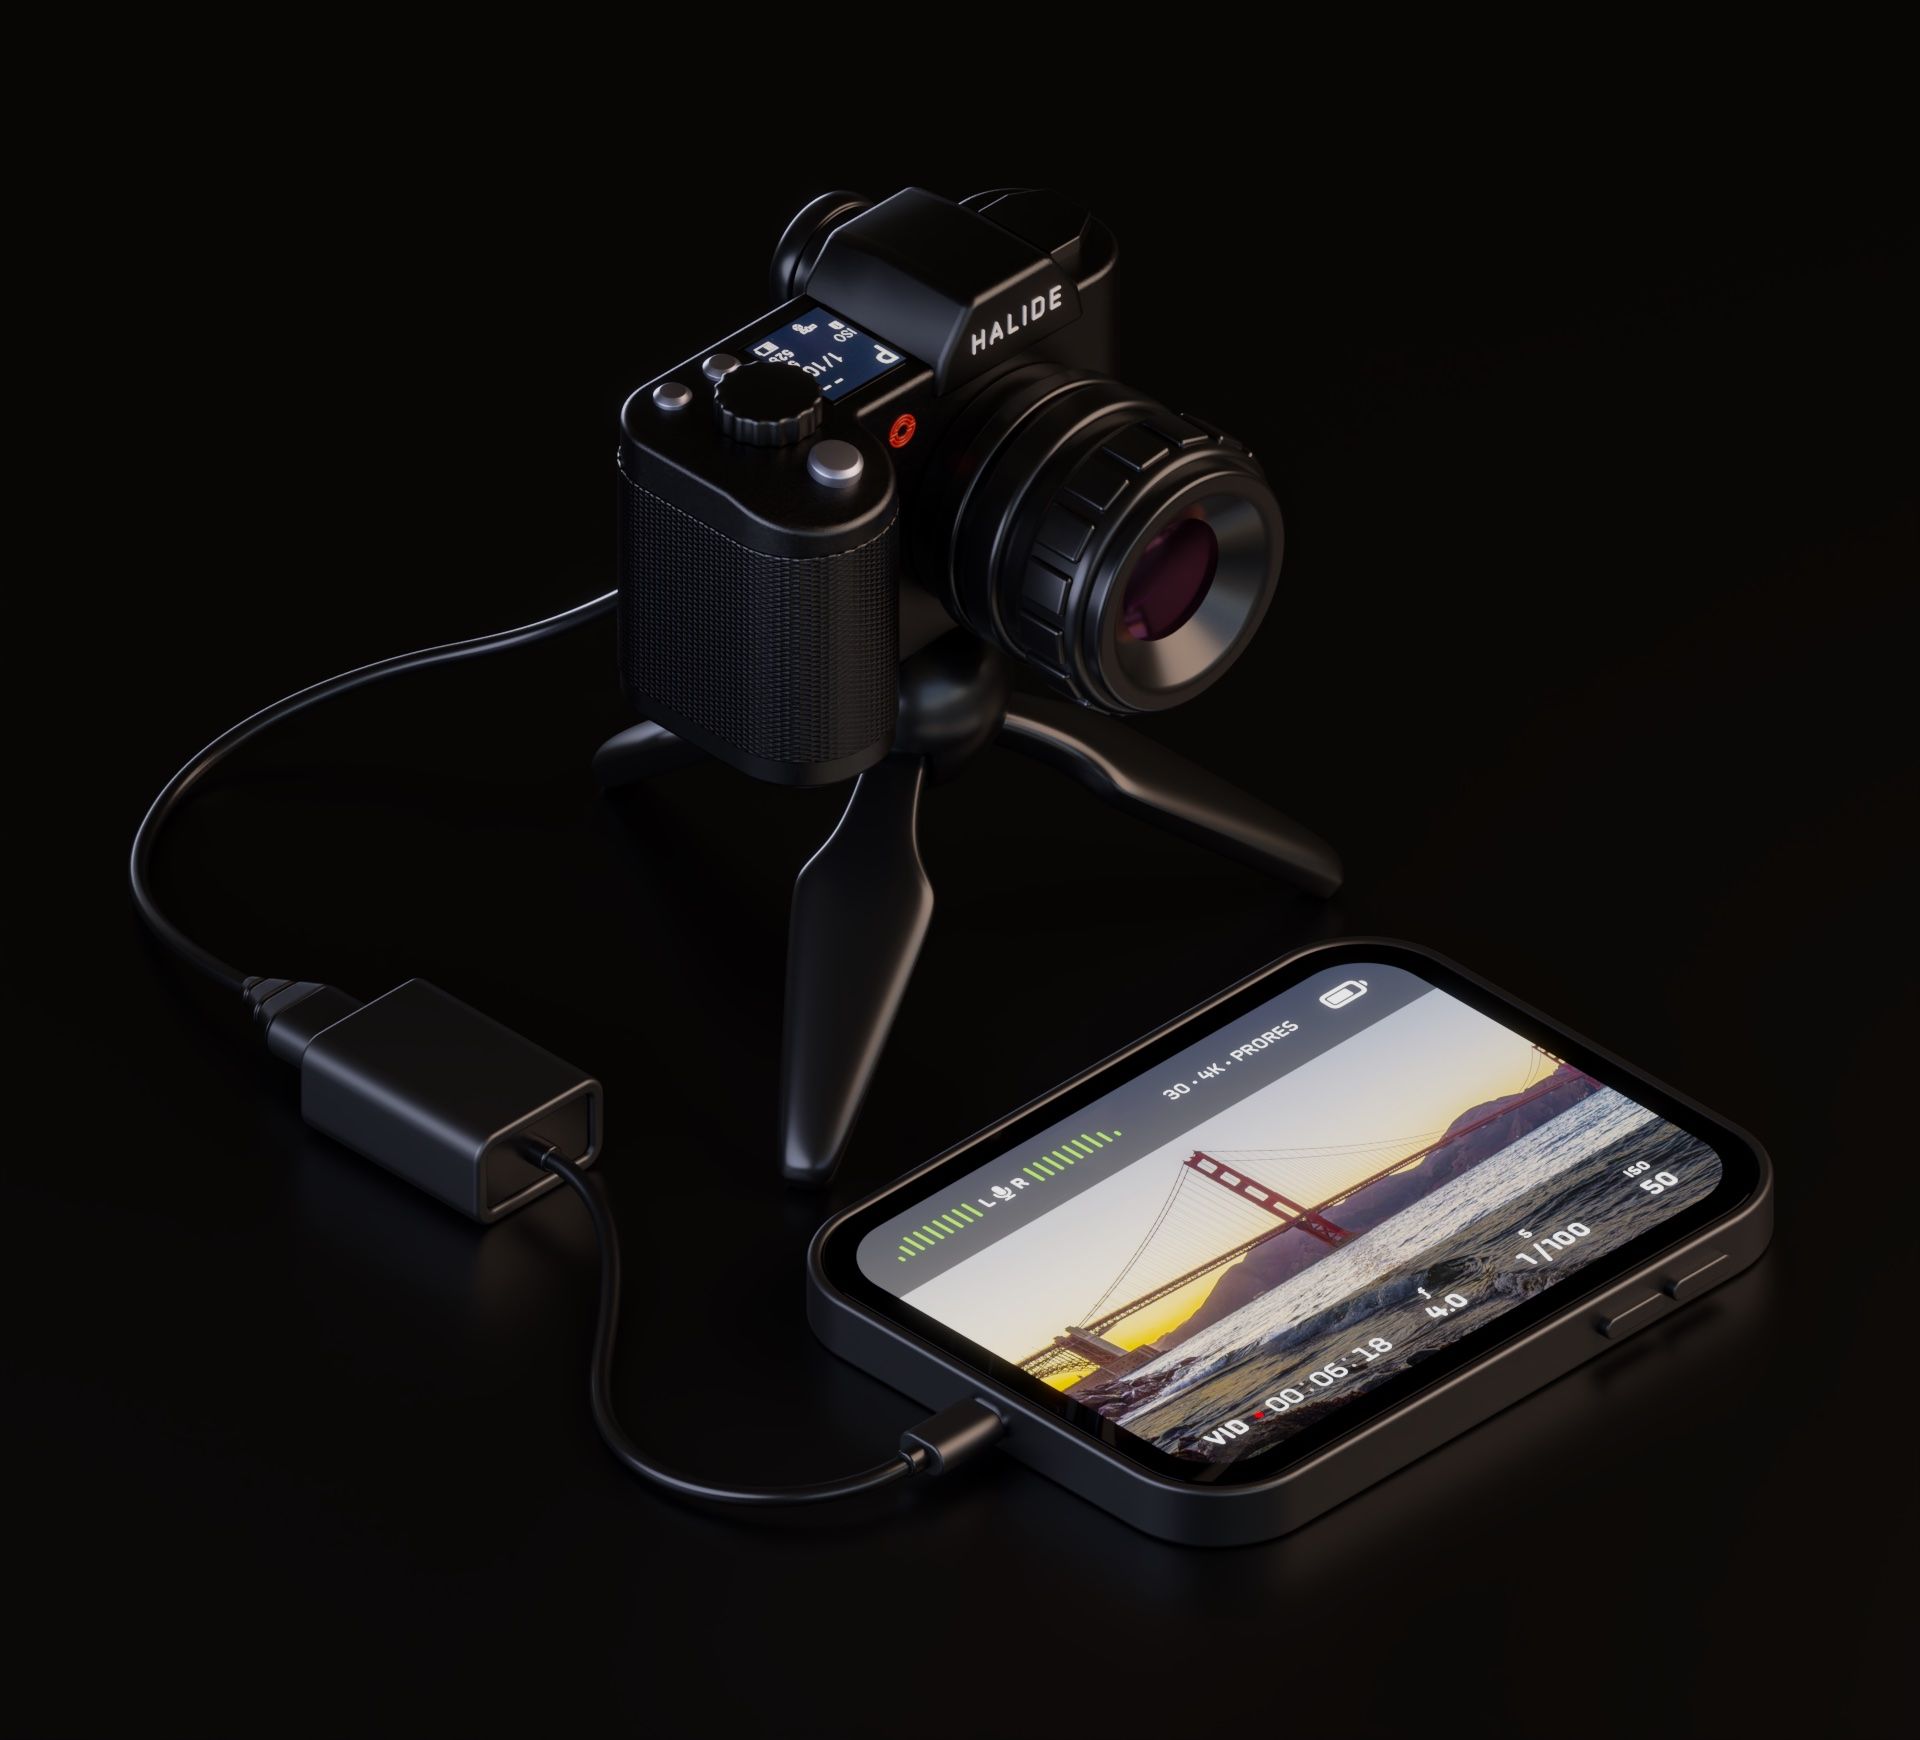
- A device with an HDMI port you want to use with your iPad. This can be a gaming console, like a Nintendo Switch, Steam Deck, Asus ROG Ally, Xbox, PlayStation, and more. You can also connect cameras, Macs, PCs and more.
- The Orion app, of course. It's free, and you can get it here.
*this really is a requirement. Using dongles or adapters will not work, and you cannot use Orion with iPads that have a Lightning port.
Step 1: Acquiring a USB-C to HDMI Capture Card
The first step involves getting a USB-C to HDMI Capture Card. It's important to get a capture card and not a USB-C hub with video output or USB-C to HDMI adapter, as these cannot capture video. We have tested and recommended certain adapters, and we made a buying guide with some other recommended accessories like stands and cables on our official website to help you choose the right one.
Step 2: Installing Orion
- Head over to the App Store on your iPad.
- In the search bar, type "Orion HDMI" and look for the Orion app.
- Tap on the app and hit the install button.
Step 3: Connecting the Capture Card
- Plug one end of the capture card into your iPad's USB-C port.
- Connect the other end of the capture card to the HDMI cable that is plugged into the port of the device you want to use as a source (e.g., gaming console, camera, computer, etc.).
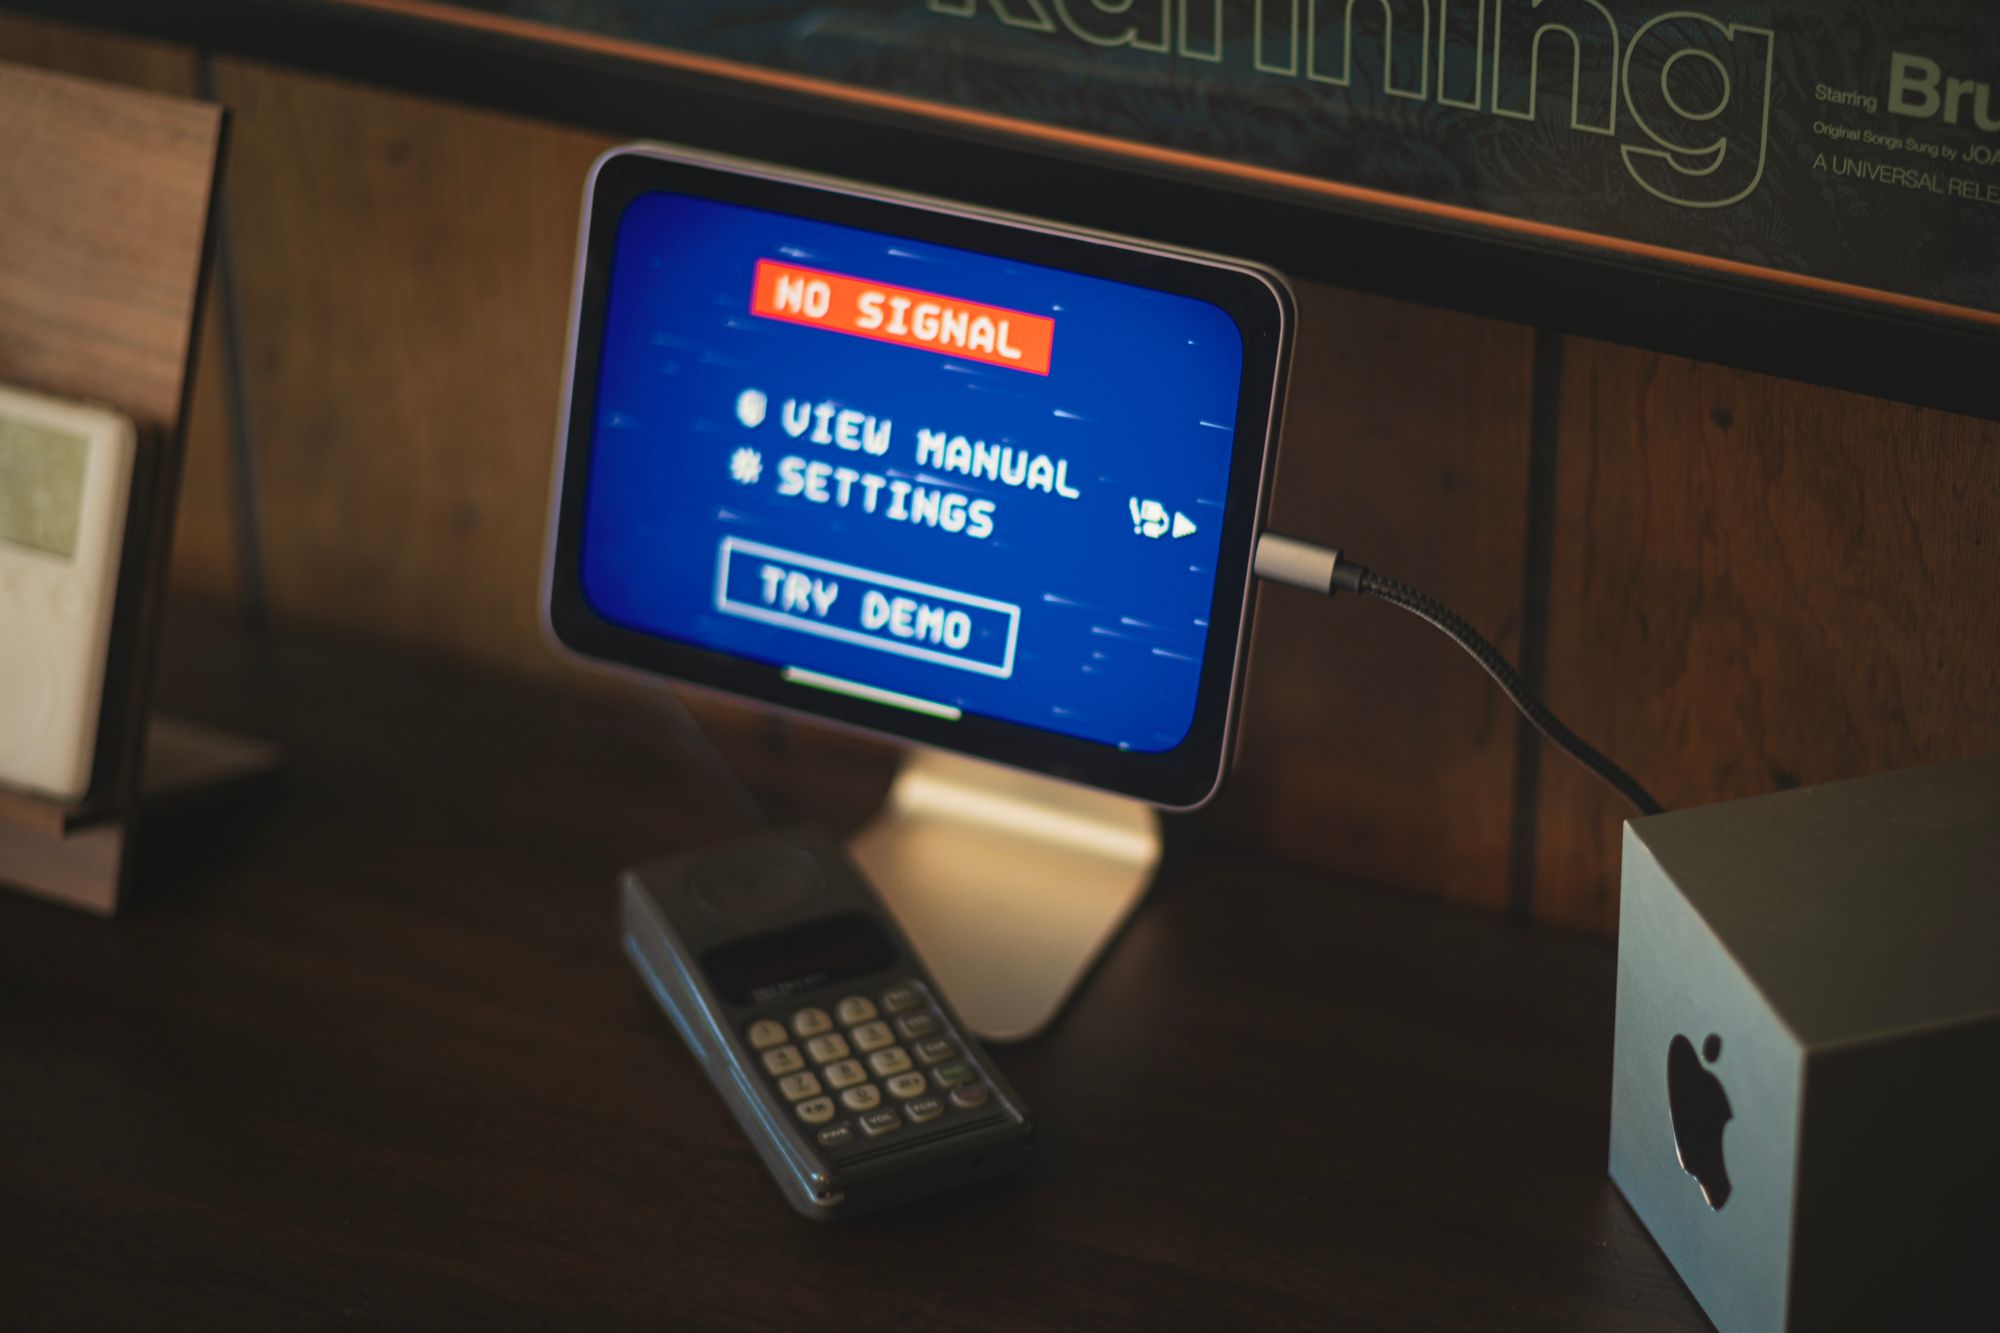
Step 4: Launching Orion
- Open the Orion app on your iPad.
- The app should automatically detect the connected device, and your iPad should now function as an external monitor.
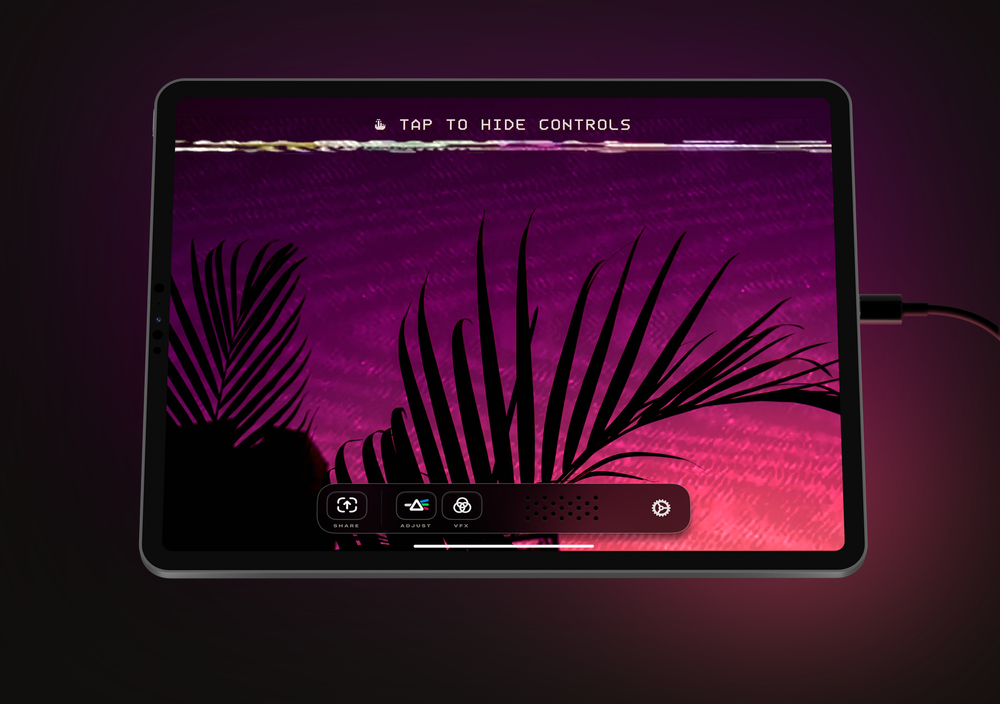
Step 5: Adjusting Settings (Optional)
Within the Orion app, you can adjust settings to better suit your preferences — you can keep controls visible or tap to hide them, or adjust screen brightness — Orion's controls include a brightness adjustment that can darken the screen further than the system controls can.
Additional Tips:
- A list of compatible and incompatible dongles is maintained by us here.
- For an enhanced experience, you might want to consider getting a stand for your iPad, and we have listed some recommendations on their accessories page.
Welcome to the advanced world of Lux Orion Video System!
For the best results and utmost satisfaction from your new system,
please follow any in-application instructions thoroughly and retain this booklet for future reference.
Enjoy your new iPad monitor, whether with a gaming console, computer, or camera!